THIS IS A TEST INSTANCE. ALL YOUR CHANGES WILL BE LOST!!!!
...
STEP 1) Log-In into Fims Web App
Sign In Page

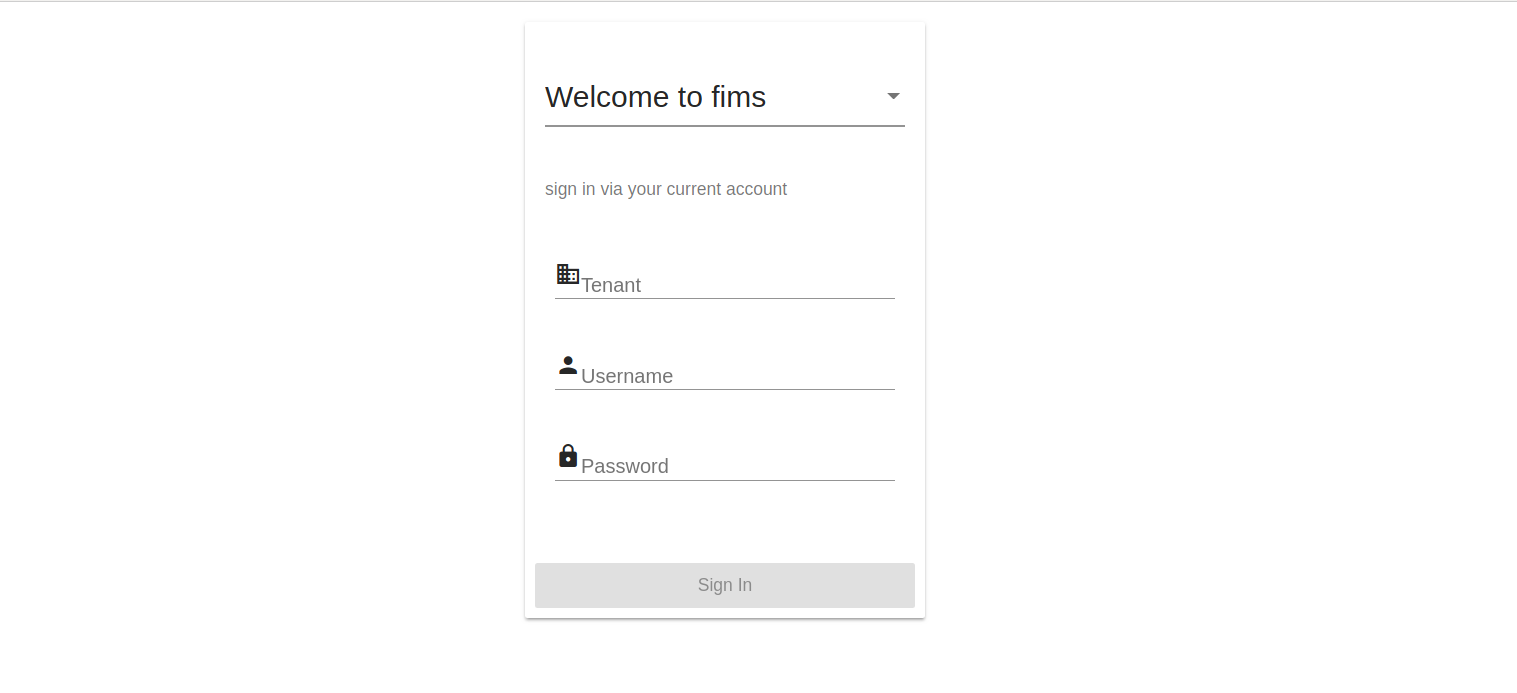
Type Tenant Name: name_given_to_you
Type Username: name_given_to_you
Type Password: password_given_to_you
Click Sign In
Once you log in, you will be required to change the password to a password of your choice e.g. password_of_your_choice
Change Password Page


Type New password: password_of_your_choice
Confirm New password: password_of_your_choice
Click Change Password
...
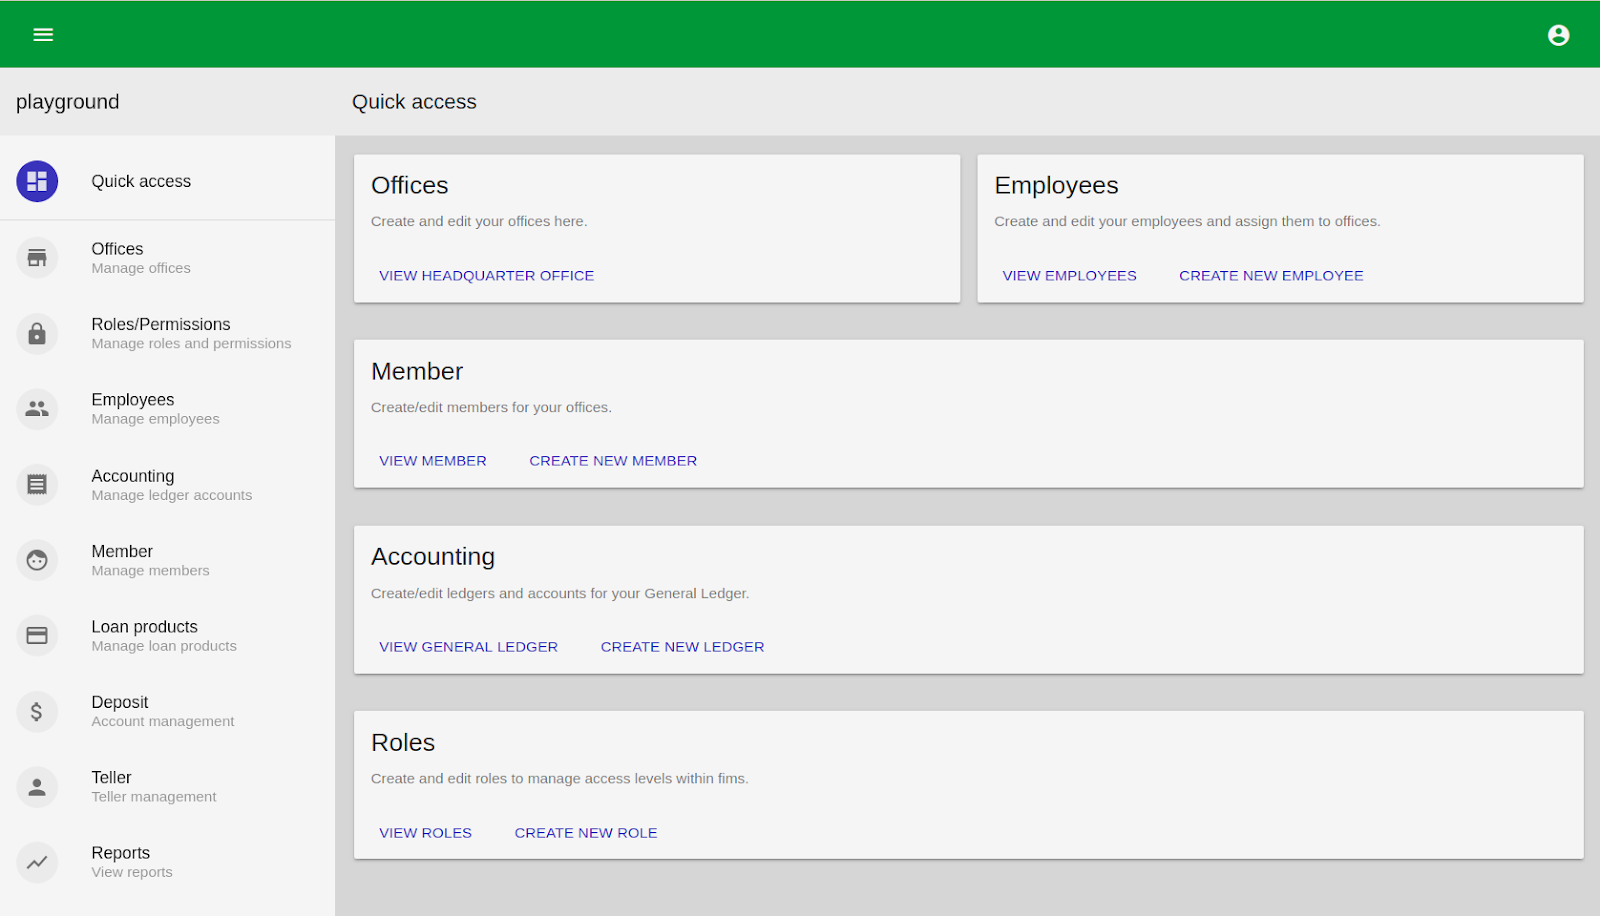
This will introduce you to the main platform dashboard which has modules: Offices, Roles and Permissions, Employees, Accounting, Members, Loan Products, Deposits, Teller and Reports.

STEP 2) Set-up your Offices
...
Review the information entered and if correct, click Create Office


If your organization has multiple offices, return to the manage offices screen and select +create branch office. You will enter the name that best describes your additional office name.
...
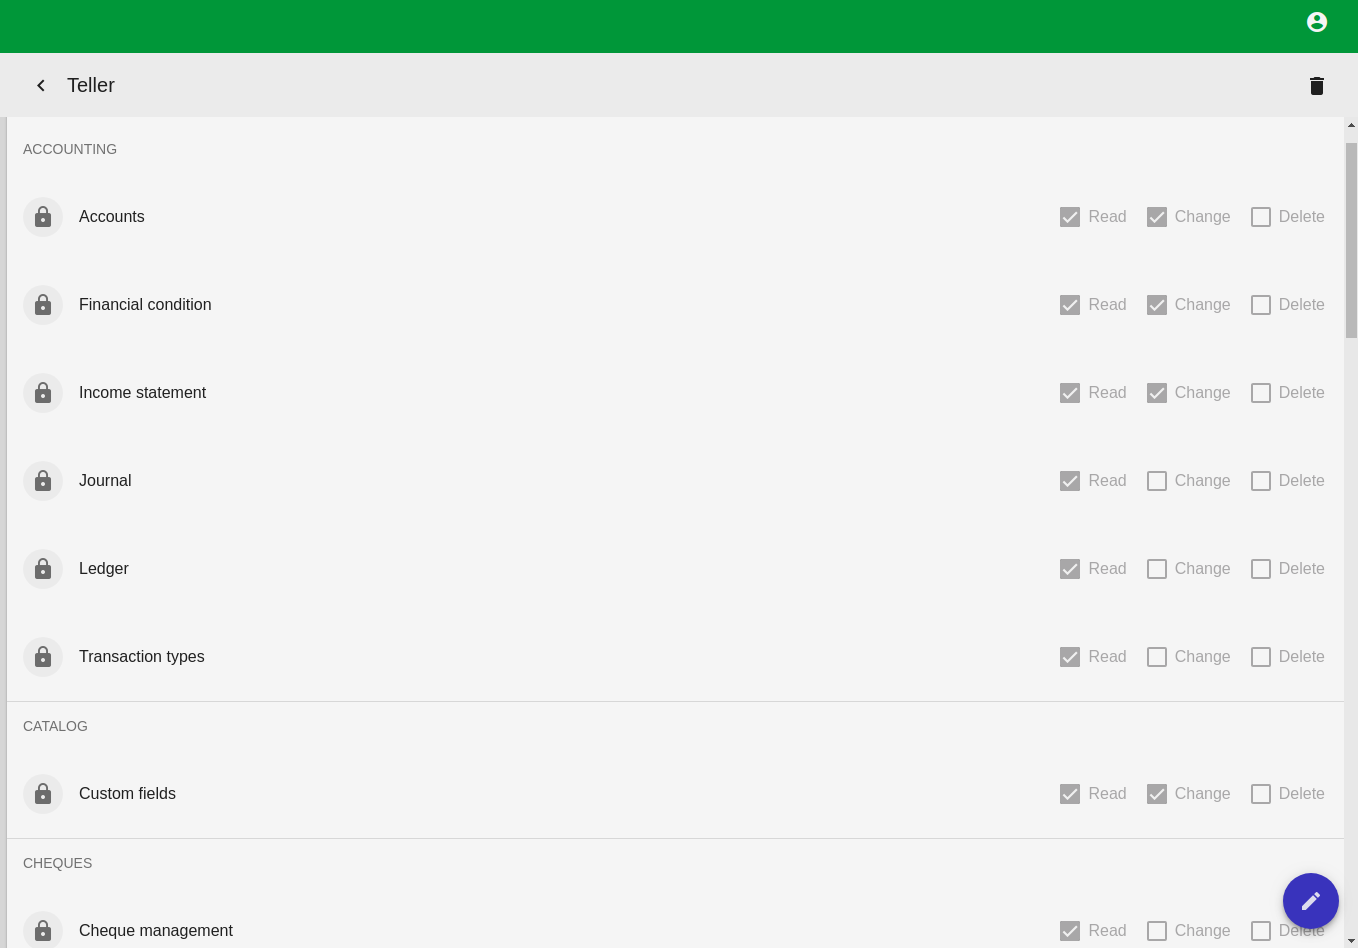
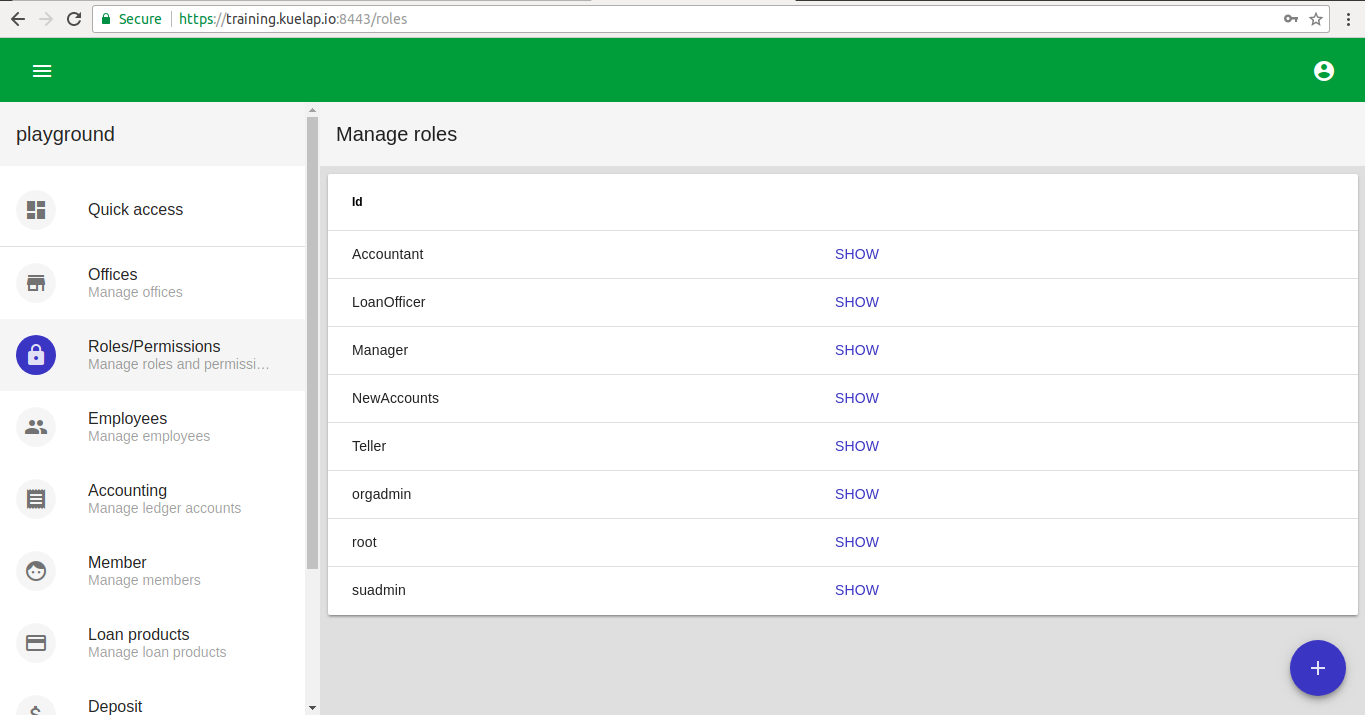
This module is responsible for the roles assigned to employees such as Accountant, Loan Officer, Teller and the permissions associated with each role with respect to access rights associated with specific transactions. For example with the Teller role, He/She will have as permission to read and change Accounts but cannot delete those Accounts. Also, He/She could read Transaction Types but cannot change or delete them.

Manage roles and Permissions - Return to main platform dashboard
Select Roles and Permissions module - click the blue +Create New role button at the bottom-right of the page to create a new role and set permissions for the role.

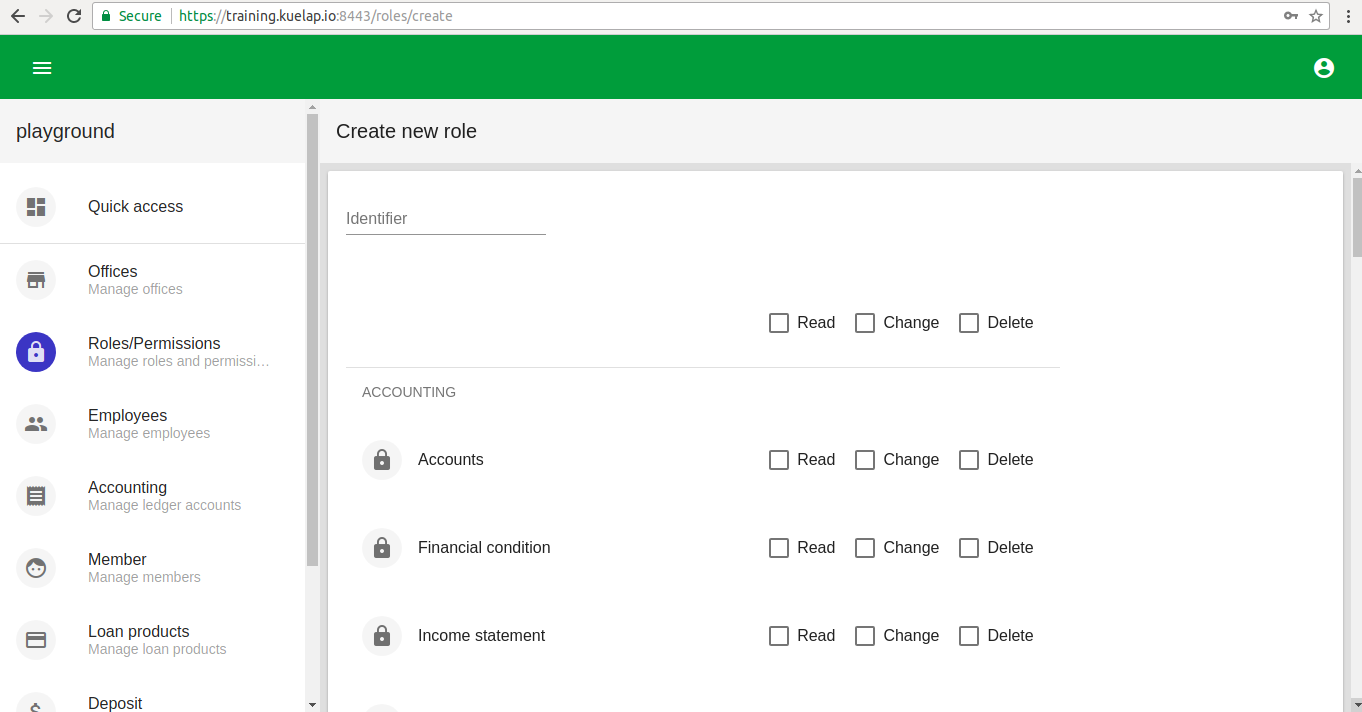
In Identifier field, enter a name you would use to identify the role. scroll down to set various permissions.
If role already exist click SHOW button to edit the permissions assigned to that role.

STEP 4) Create Employees
...
Select Employee module - Click the blue +Create Employee button at the bottom-right of the page to create new employee.


Complete the required fields:
Type Employee username
Fill First Name, middle name (optional) and last name
Select appropriate Role from the drop down menu
Type password
Click on CONTINUE

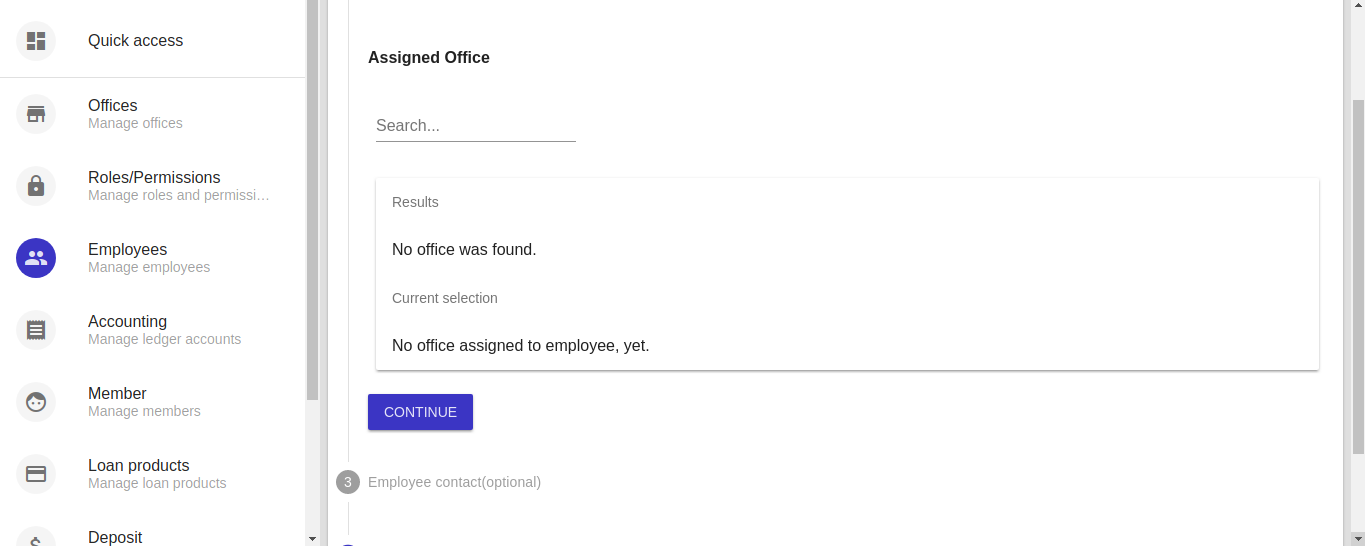
Search and select office to be assigned to the employee and click on CONTINUE


Fill employee contact(optional)
Click on CREATE EMPLOYEE to create new employee
...
Accounting - Return to menu and select Accounting to access the accounting module.

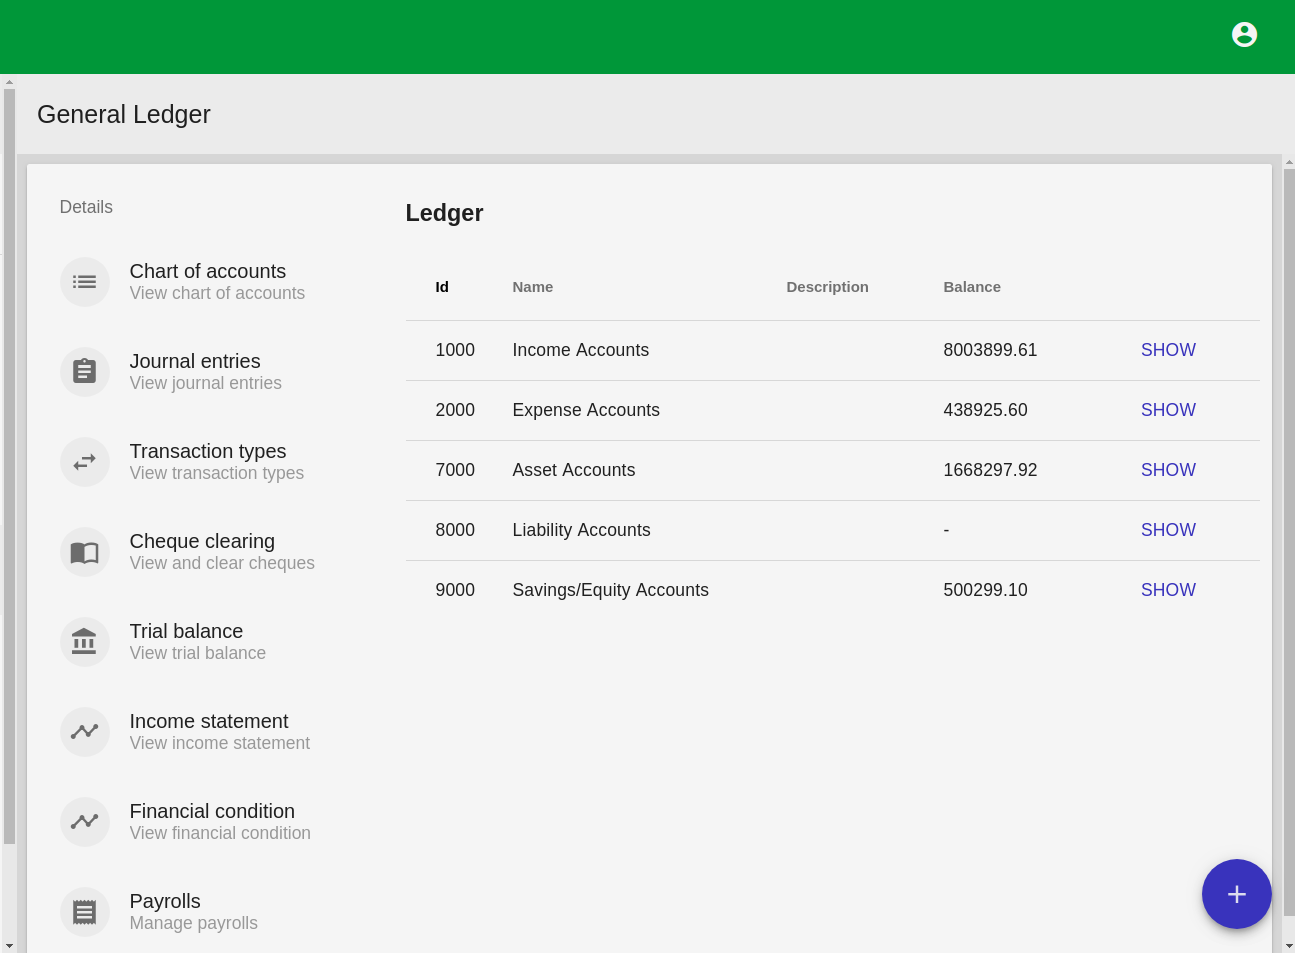
It is made up of the Chart of Accounts which has the various classes of accounts, Journal entries which has records of all transactions that have been carried out; Cheque clearing which records all cheques that have been cleared up, Trial Balance, Income Statement and Financial Condition which gives financial reports; and Payroll which manages the payroll of the members.
...
Members - Return to menu and select Member to manage members. Click on blue +Create member button at the bottom-right of the page to create new member.


Complete the required fields:
Enter Member’s account number
Enter first name, middle name(optional) and last name
Enter member’s Date of birth
Click on CONTINUE


Enter Member Address ( street, city, postal code, country and region) - Click on continue
Enter Member Contact
Search and select office to assign member
Assign member to an employee(optional)
Click on CREATE MEMBER to create a new member
...
Click on blue +Create new product button at the bottom-right of the page to create loan product.


Complete the required fields:
...
Click on blue +Create new product button to create new deposit products.


Complete the required fields:
...
Teller - Select Teller on the quick access menu to manage teller


To Unlock the drawer fill in the teller number and password.
...
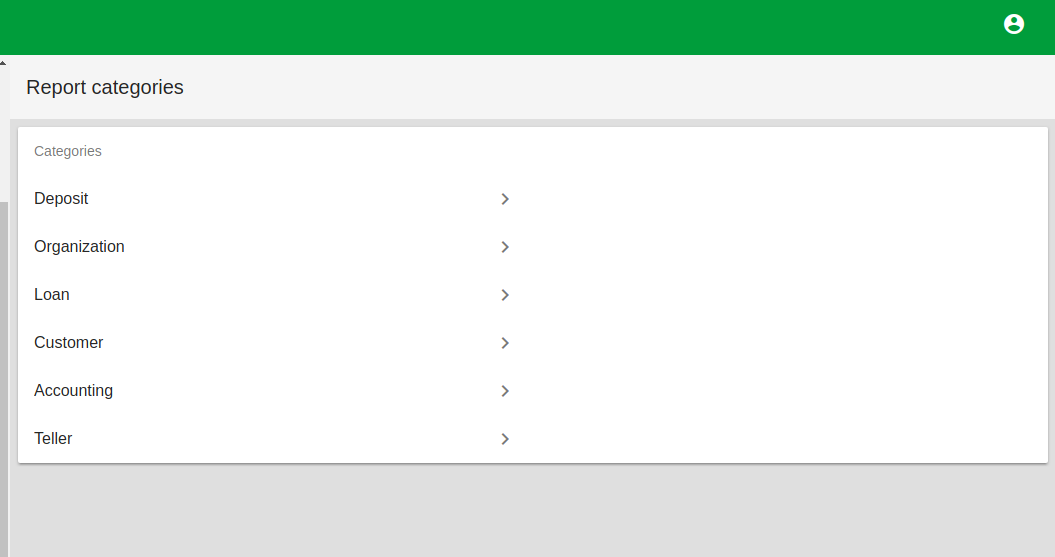
Open each category to view and generate report

Next Page : The Sign-In Page
...