DUE TO SPAM, SIGN-UP IS DISABLED. Goto Selfserve wiki signup and request an account.

...
The alternative is to use JTAG and that is the subject of this Wiki Page
The JTAG Connector
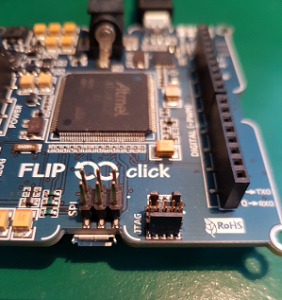
{{http://nuttx.org/Images/fnc-sam3x-connector.png }} The Flip'n'Click SAM3X comes with pads for micro 10-pin JTAG connector on board. However, connector is not populated. You will need to purchase the connector and solder it in place yourself as shown below. The connector shown here is the one recommended on the ARM.com website: Samtec FTSH-105-01-L-DV-K (for example from Digi-Key).
...
Connecting the Segger J-Link
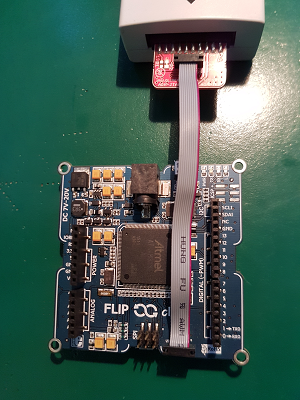
{{http://nuttx.org/Images/fnc-sam3x-jlink.png }} I do most of my debugging with a Segger J-Link. This photo shows my Segger J-Link connected to the Flip'n'Click SAM3X. The stock J-Link does not support that tiny JTAG connector and will have to use an adaptor from the micro 10-pin connector to the standard 20-pin JTAG connector used on most debuggers. Shown here is the Flip'n'Click connected to the Segger J-Link using the Olimex ARM JTAG 20-10.
...
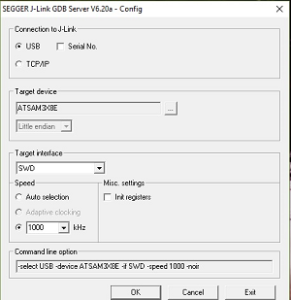
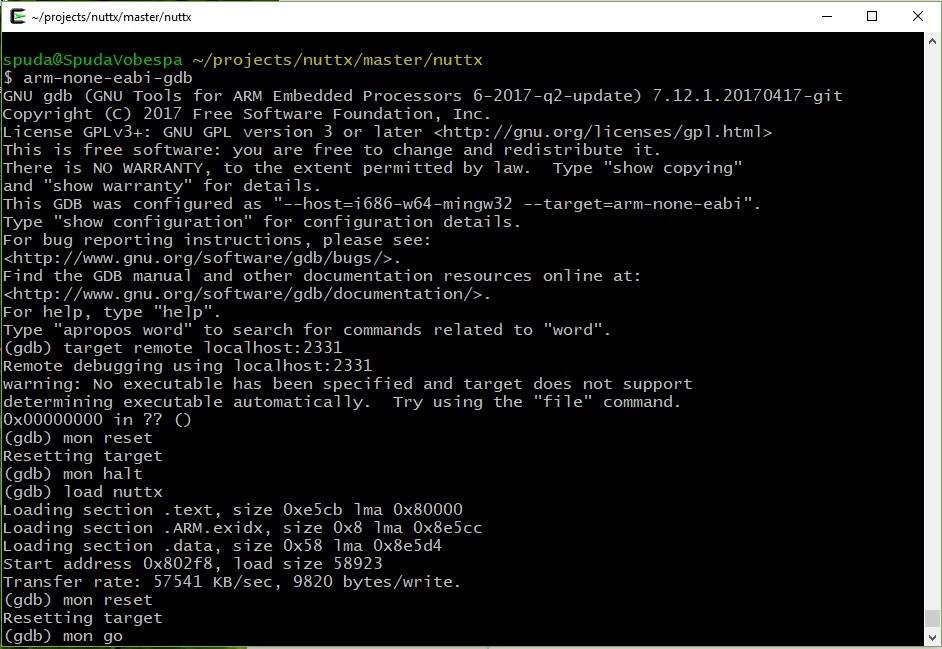
J-Link Configuration / Sample Debug Session
{{http://nuttx.org/Images/fnc-sam3x-segger.png }}
}}
{{http://nuttx.org/Images/fnc-sam3x-debug.jpg?450x350 }}
}}
Serial Console
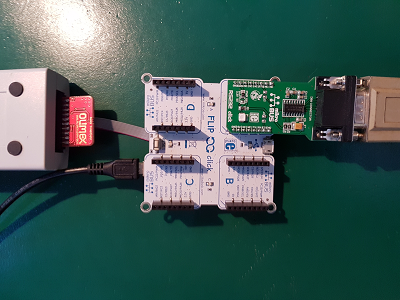
{{http://nuttx.org/Images/fnc-sam3x-serial.png }} On a totally unrelated topic, this photo shows the white side of the Flip'n'Click with the four mikroBUS Click sockets. I am using an RS-232 Click module for testing here (because I had some difficulty with full duplex communications over the Arduino virtual COM port which is really the better option).
http://nuttx.org/Images/fnc-sam3x-console.jpg?400x200
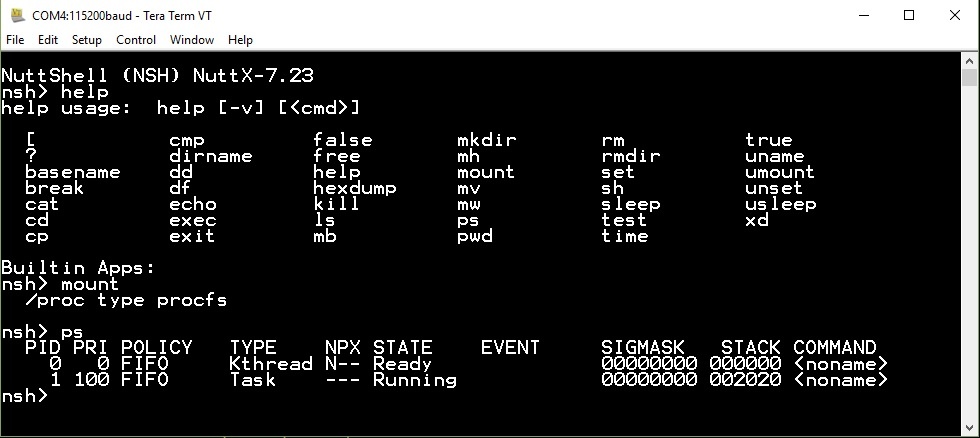
Serial console output with TeraTerm on Windows.
...