DUE TO SPAM, SIGN-UP IS DISABLED. Goto Selfserve wiki signup and request an account.

Page History
Requirements
It 1. It is recommended to have docker installed on the user's laptop to successfully follow the tutorial till the end
2. To save time, you can pull the docker image we use in the latter part of the tutorial in advance by running "docker pull dimuthuupe/ipykernel:1.3". The image size is around 208MB so make sure that you have enough disk space and network bandwidth to download it.
Steps
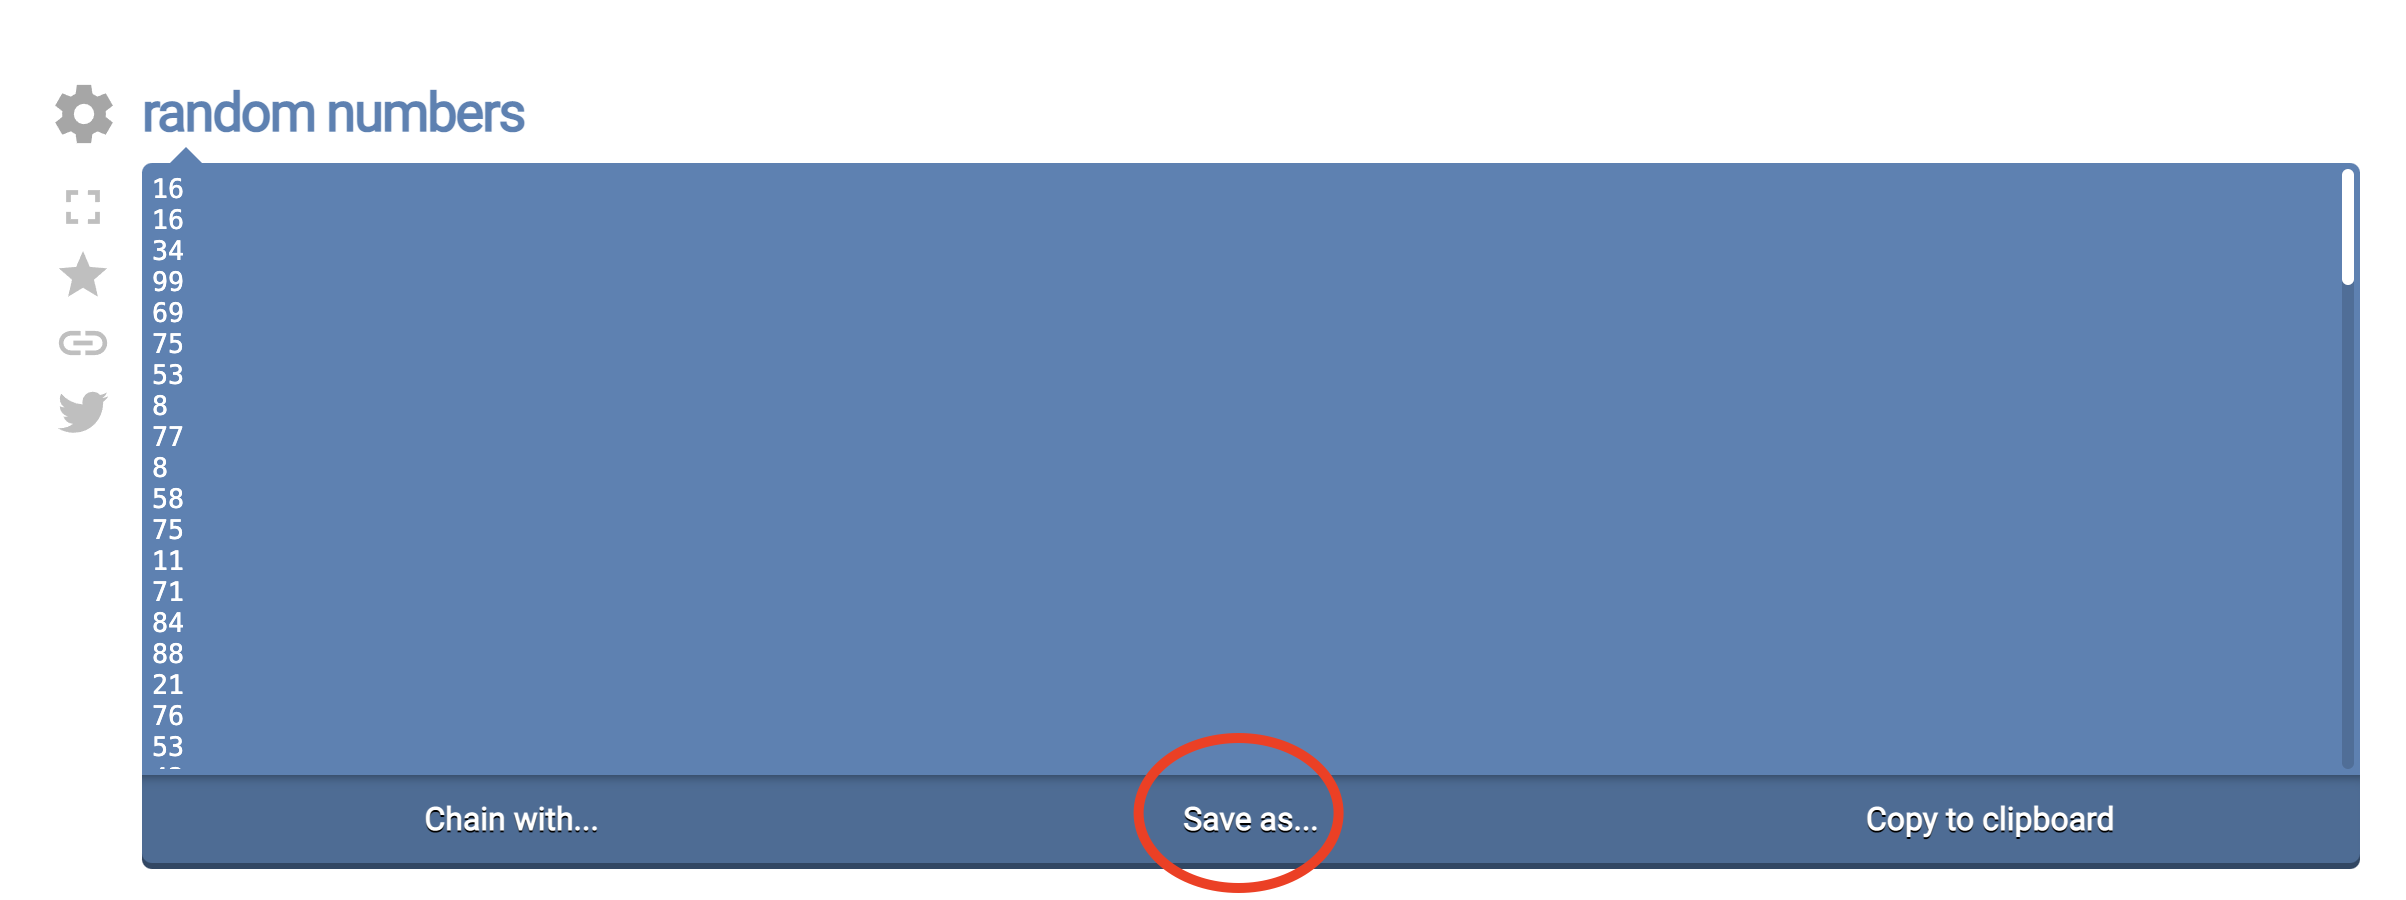
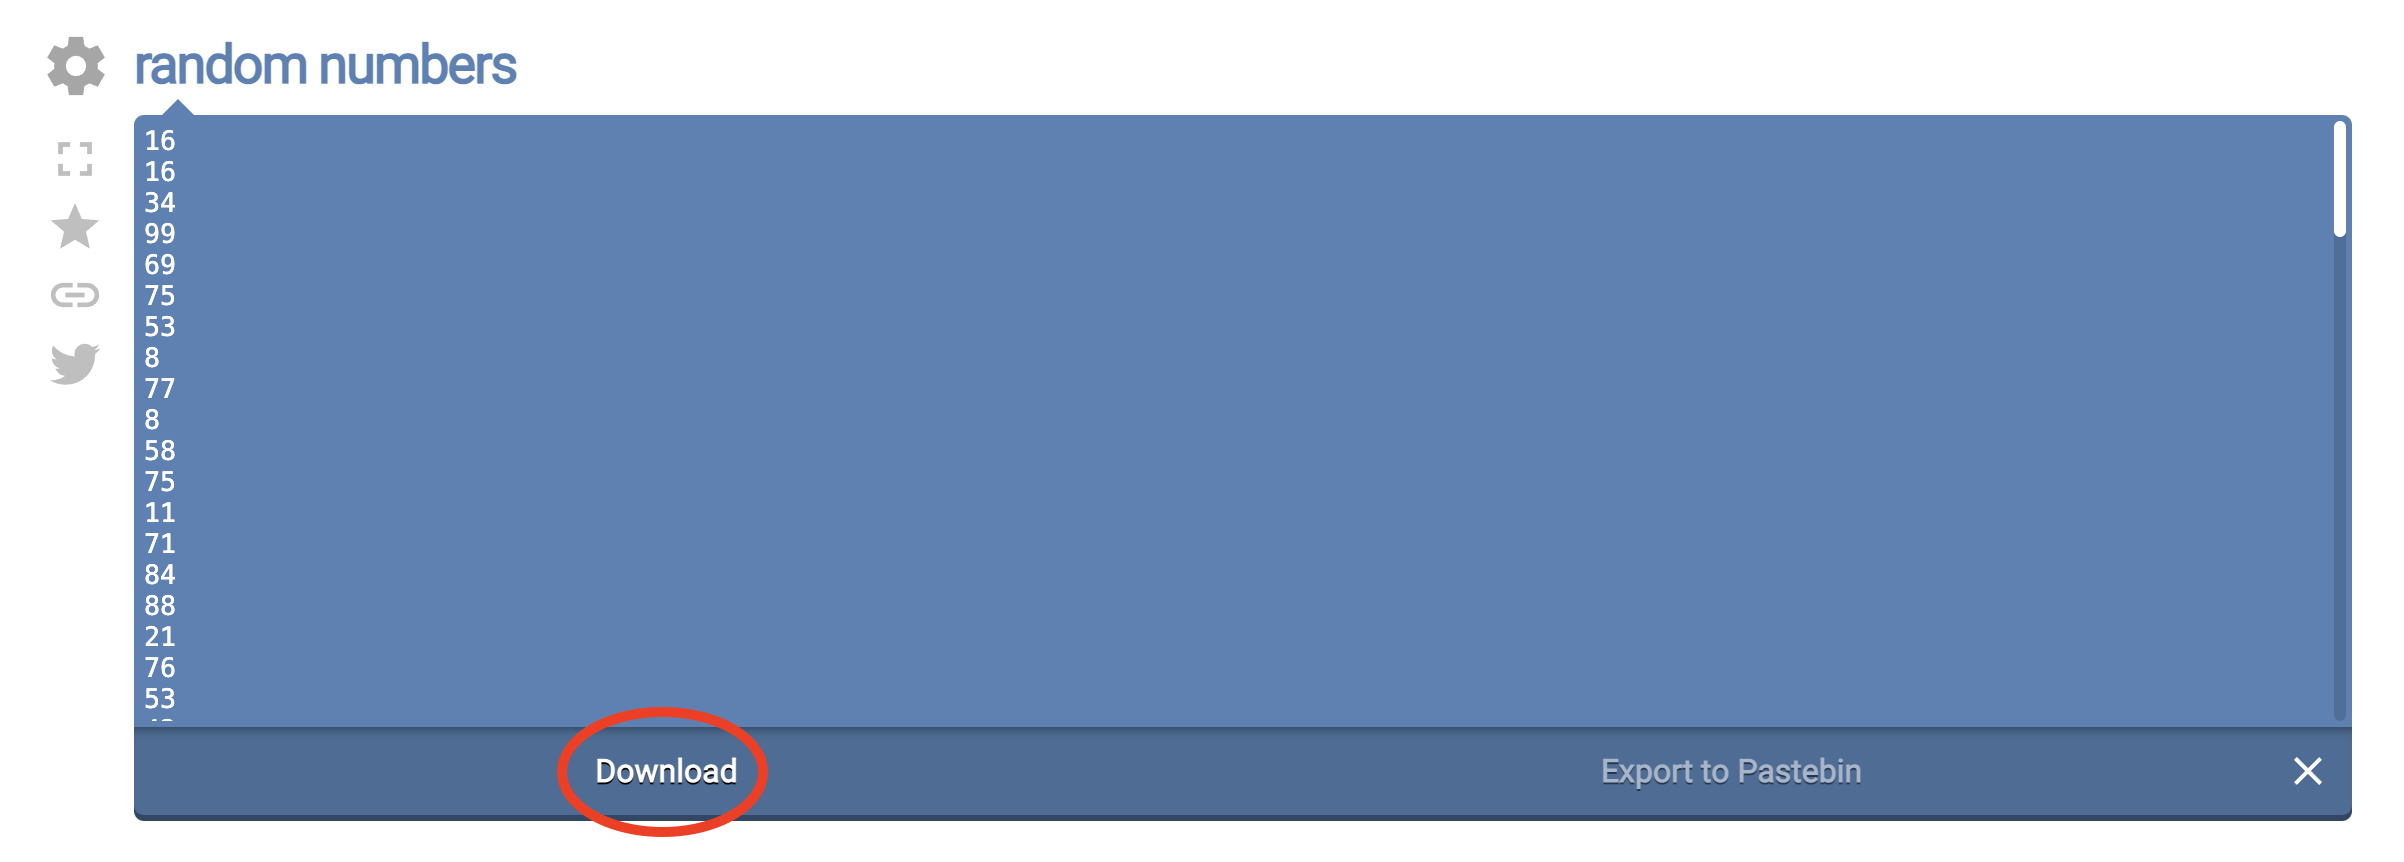
1. Go to https://onlinerandomtools.com/generate-random-numbers and download a file that contains a list of random numbers. This will download a file named "output-onlinerandomtools.txt" to your downloads directory
2. Go . Go to https://demo.notebooks.airavata.org/ and log in through CILogon
23. Click the "Launch a Notebook" button and create a notebook server by providing a name for it. This will spin up a Jetstream2 cloud-hosted notebook server

34. Once the notebook server is available, you should be able to see a start an Open button in front of the notebook entry
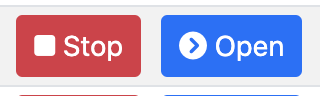
45. Click the start open button and it will open up a new tab with access to the newly created notebook server
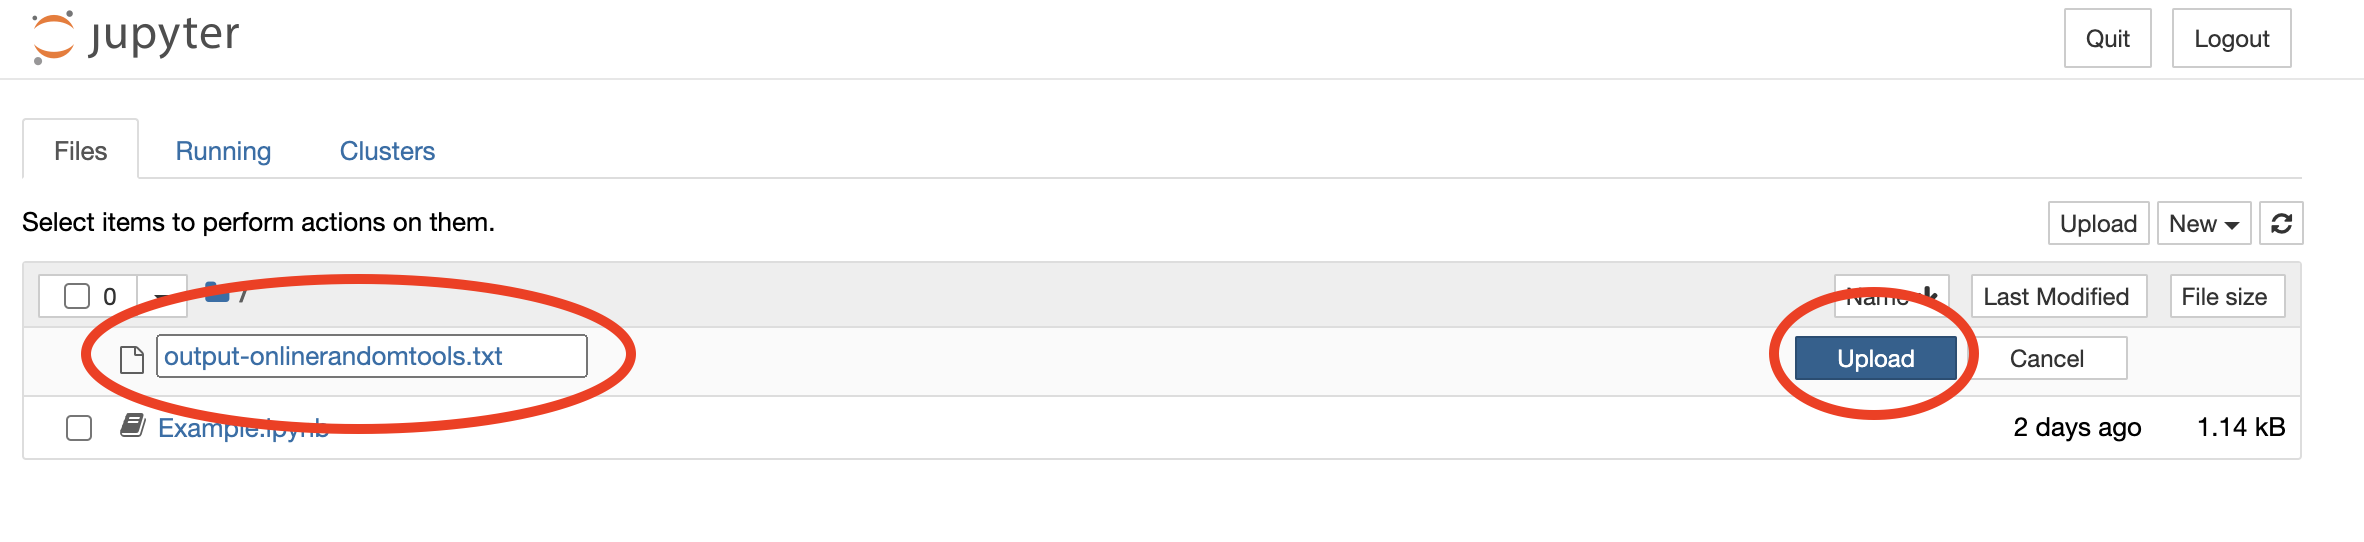
6. Using the notebook file viewer, upload the previously downloaded output-onlinerandomtools.txt to the root level of the notebook server

75. Click and open Example.ipynb notebook.
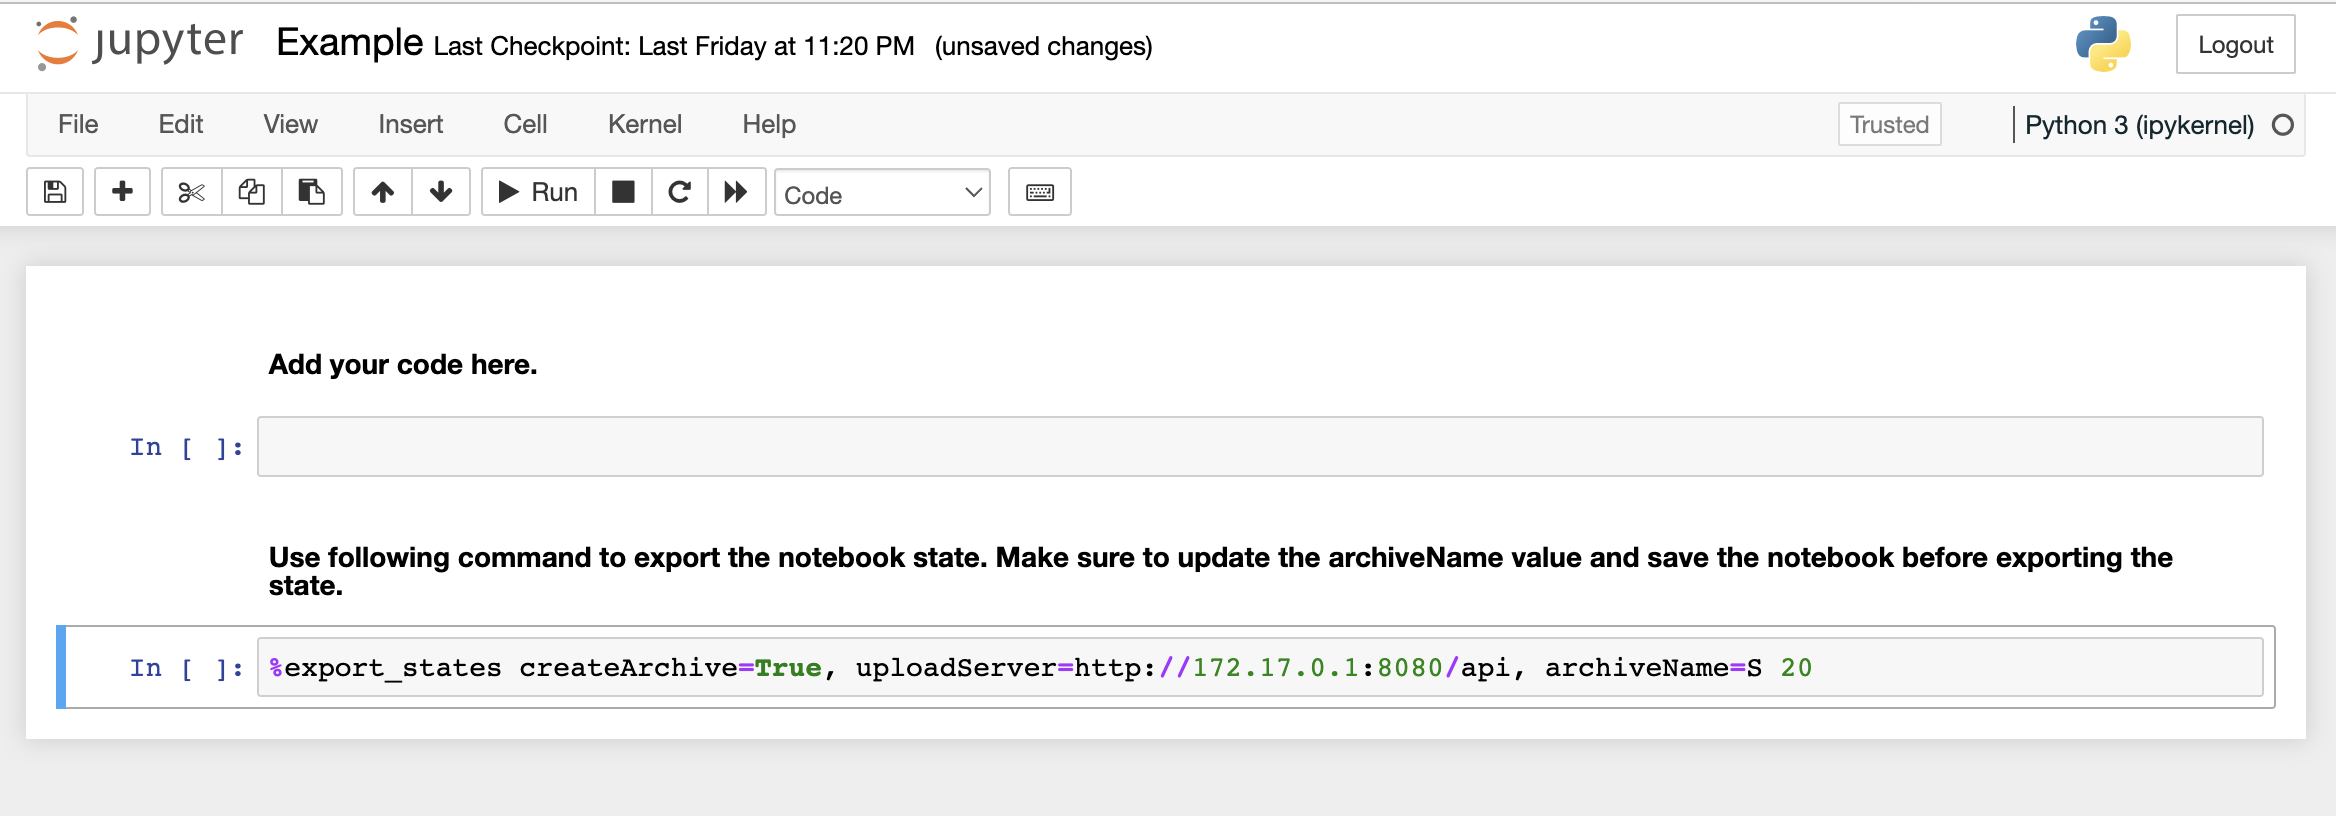
68. Run the following code blocks in individual notebook cells
...
import matplotlib.pyplot as plt
plt.hist(numbers)
79. Above import will throw an error because the notebook runtime does not have matplotlib installed by default. To install matplotlib, get a new cell and run the following command
pip install matplotlib
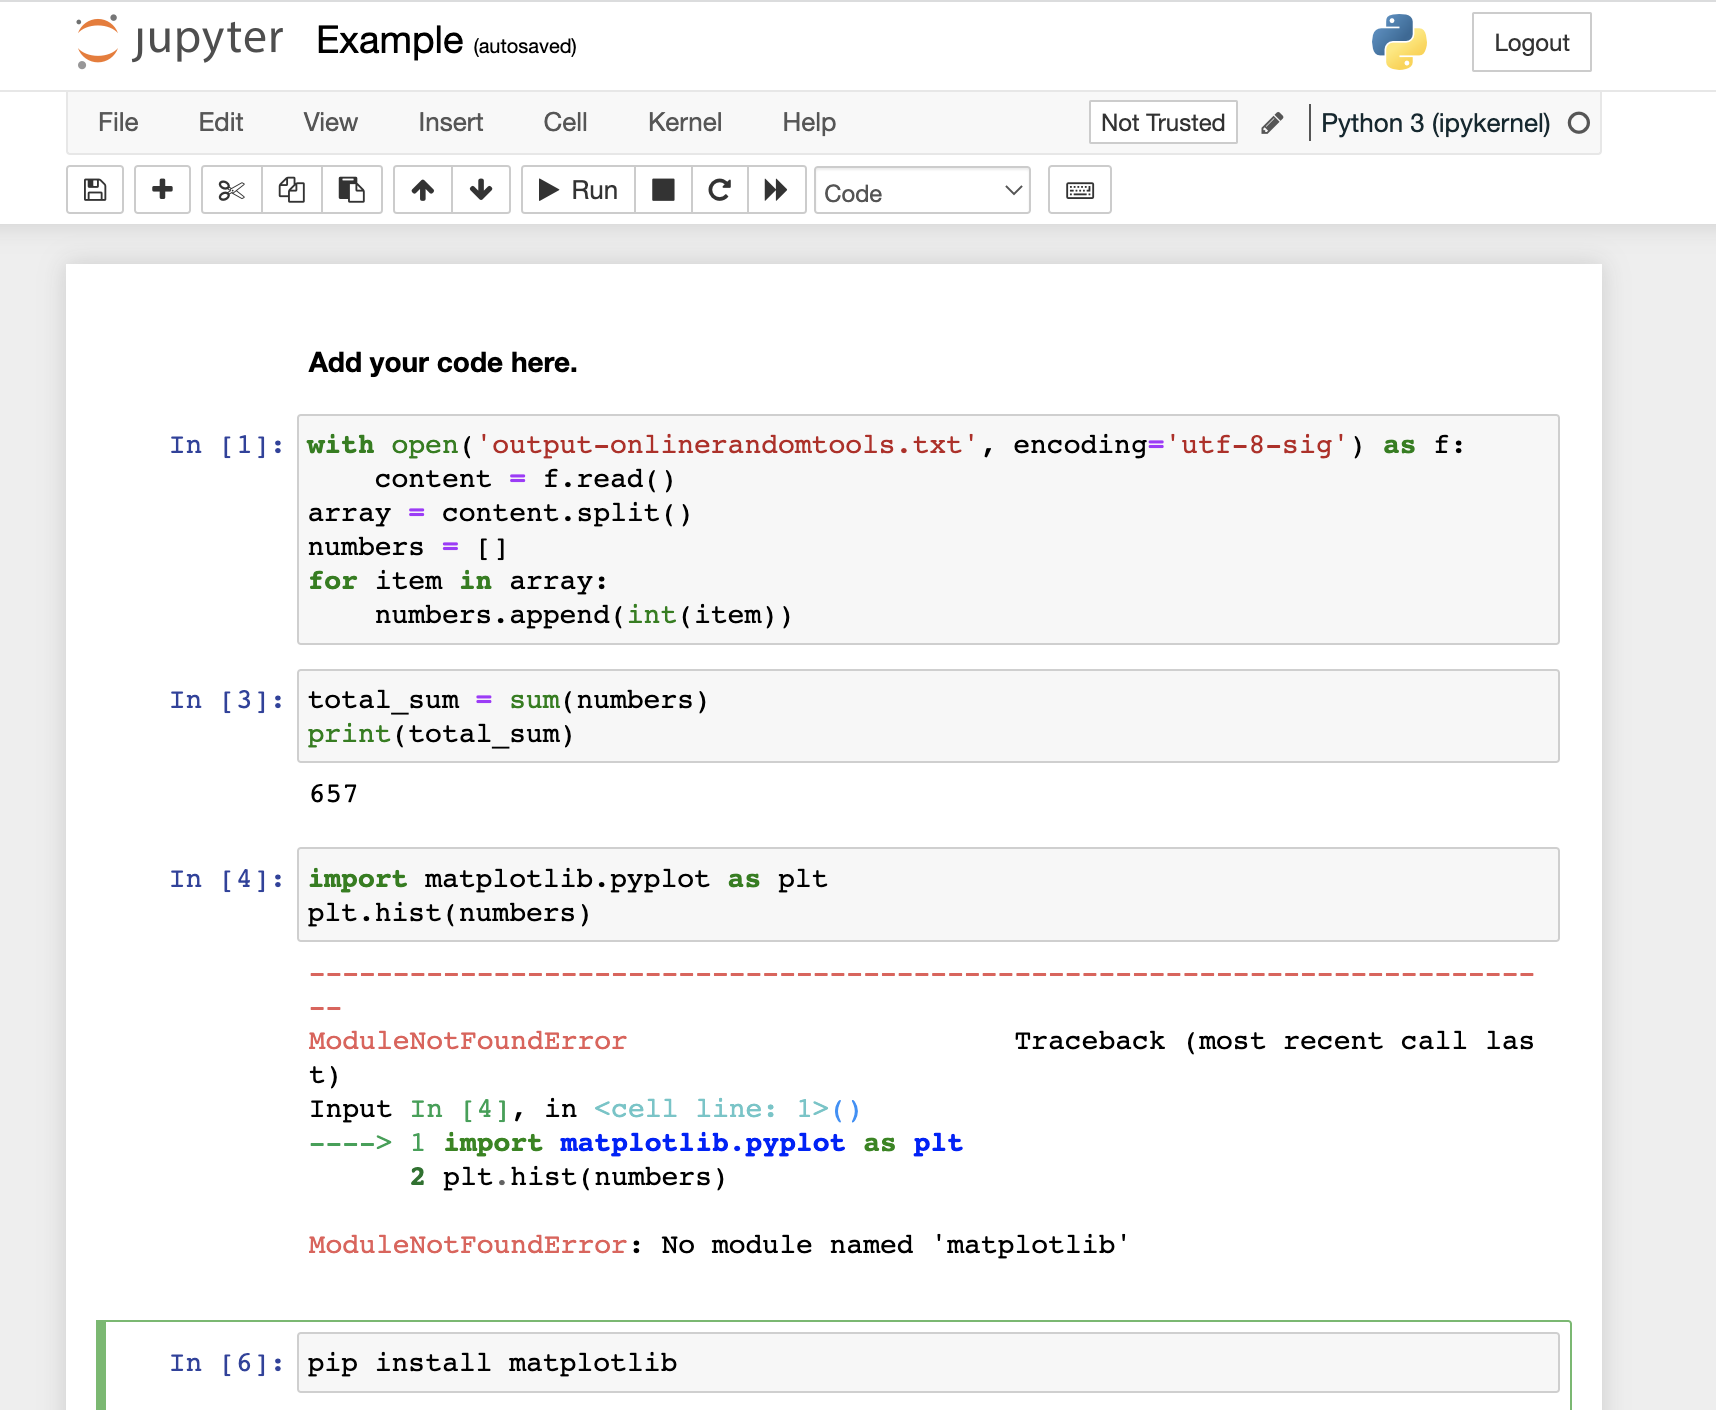
With 3 code blocks and matplotlib installation
108. Once the library is installed, try running run code block 3 to make sure that the library is properly installedinstall the matplotlib successfully.
119. Save the notebook and run the last line of a (See code block 4 below) of the notebook with an appropriate description. Replace <SUM> with the sum you have got. It is very important to save the notebook before running this command to capture the state appropriately
Code Block 4
%export_states createArchive=True, uploadServer=http://172.17.0.1:8080/api, archiveName=Experiment with total sum <SUM>
1012. Download the ARCHIVE.zip file to your local disk by clicking the link providedthat appeared as the output of the above command
13. To recreate the state in the cloud, go to https://demo.notebooks.airavata.org/dashboard and launch the archive which appears in the Archive section.
14. To recreate the state locally, run the following 11. Run a docker container with the downloaded ARICHIVE.zip as an input. Update the <Local Archive Path> value with the absolute path of the downloaded ARCHIVE.zip file. This will re-create the exported state in your local environment. Once the notebooks server is up, go to http://localhost:8888/ and insert the password 123456.
docker run --cap-add=SYS_PTRACE -it -p 8888:8888 -v "<Local Archive Path>:/opt/ARCHIVE.zip" -e NOTEBOOK_TOKEN=123456 dimuthuupe/ipykernel:1.2
3
Overview
Content Tools