THIS IS A TEST INSTANCE. ALL YOUR CHANGES WILL BE LOST!!!!
...
- Checkout kafka source
- Update the libraries:
- ./sbt update
- Install the eclipse/scala plugin as described here.
- Create a new scala project File->New->Scala Project
- Set the location to the directory to which you checked out the code and choose a name for the project.
- Select the source directories you want, at least:
- core/src/main/scala
- core/src/test/scala/unit
- Select the source directories you want, at least:
- Add all the libraries in the Libraries tab: core/lib and core/lib_managed
- I had to also add the 2.9.1 scala library by choosing Add External Jar and choosing that library
You should be able to run unit tests or the kafka server or other command line apps through eclipse for debugging. To do this right-click the class you want to run and select
- Run as...<Unit Test|Scala Application>
- By default log4j will not be configured correctly. To fix this go to your run target and under Classpath choose Advanced... and then Add Folders, and the folder config/
Intellij Setup
- - 01/17/2015
| Table of Contents | ||
|---|---|---|
|
Eclipse setup
Install and prepare Eclipse
- Download and install Eclipse (Indigo or Juno is recommended);
- Install Scala 2.10.x IDE plugin as described here. Make sure to get the right bundle / update site according with your Eclipse version;
- Install IvyIDE plugin as described here. This will allow to automatically create classpath containers starting from ivy files;
Checkout Kafka source
- git clone git@github.com:apache/kafka.git <kafka.project.dir>
Generate Eclipse project files
cd <kafka.project.dir>
- Bootstrap gradle wrapper with:
gradle Generate the eclipse projects with:
./gradlew eclipse. This command will create eclipse projects for every project defined in Kafka.- Note that the source folder structure may need to be fixed manually : see
Jira server ASF JIRA serverId 5aa69414-a9e9-3523-82ec-879b028fb15b key KAFKA-4617
Create the Eclipse workspace
- Open Eclipse and create a new workspace;
- Import the generated project (File -> Import -> General -> Existing Projects into Workspace)
- Navigate to the <kafka.project.dir>. Eclipse will find the projects generated by the previous command;
- Select the projects you want to import;
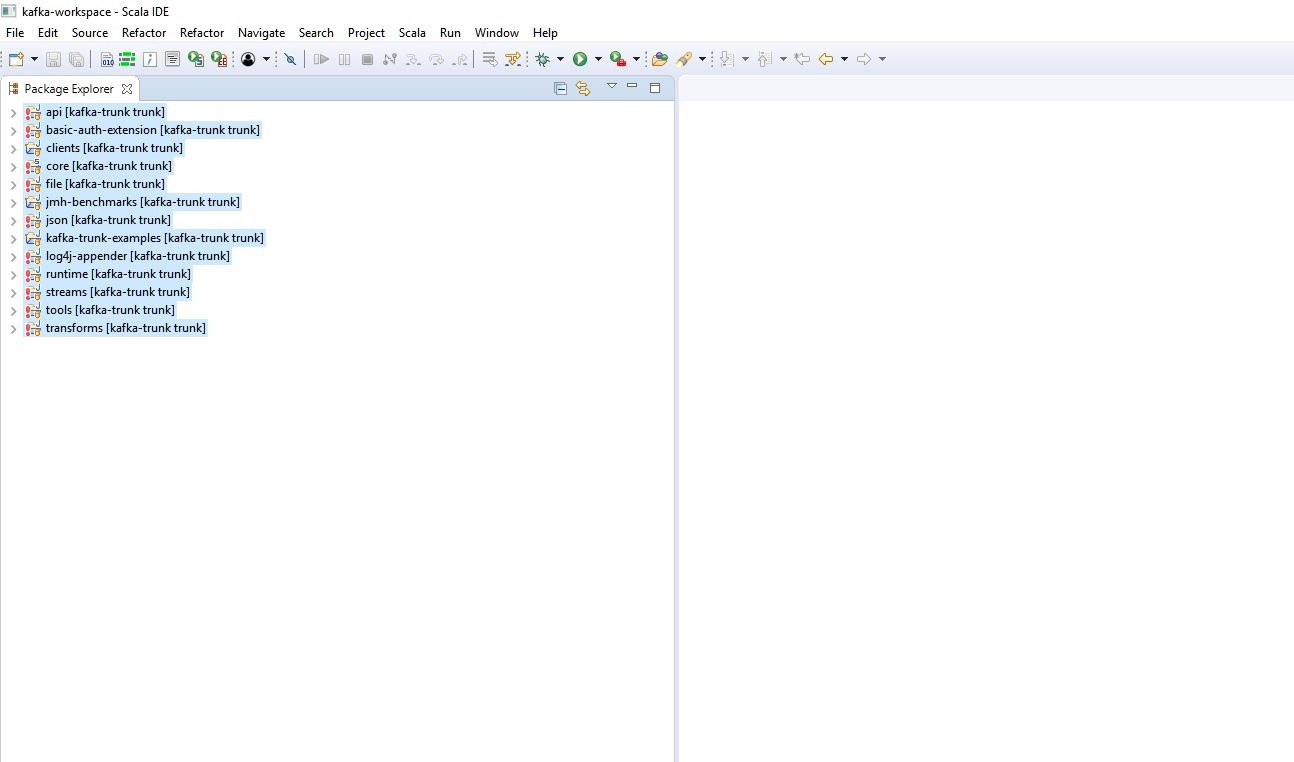
You should see the projects you have imported. For running unit tests and Kafka broker refer to the previous section.
| Info |
|---|
You will need regenerate the projects and refresh eclipse every time there is a change in the projects dependencies. In other words, you need to run |
NOTE - update for Eclipse 3.7.x Oxygen, scala-ide 4.7.1RC3 and Scala 2.12
After generating the projects with
gradle -PscalaVersion=2.12
./gradlew -PscalaVersion=2.12 eclipse --refresh-dependencies
In Eclipse you need some manual tweaking to get rid of the build errors :
- remove the duplicate java src path entry from core
- remove all 'test' library entries in the projects : core/streams/streams-scala
then, break the build cycle
- remove the `test-utils` project dependency from streams
- add the test-utils source folders `test-utils/src/main/java` and `test-utils/src/test/java` to the streams project
Intellij Setup
Install and prepare IntelliJ
- Download and install IntelliJ;
- Install the IntelliJ IDEA Scala Plugin (Menu Item File | Settings -> Plugins -> Browse Repositories -> Search for Scala);
Checkout Kafka source
- git clone git@github.com:apache/kafka.git <kafka.project.dir>
Update libraries and generate IntelliJ project files
- cd <kafka.project.dir>
gradle./gradlew idea
Create IntelliJ workspace
- Open Intellij and click open project pointing to <kafka.project.dir>
...