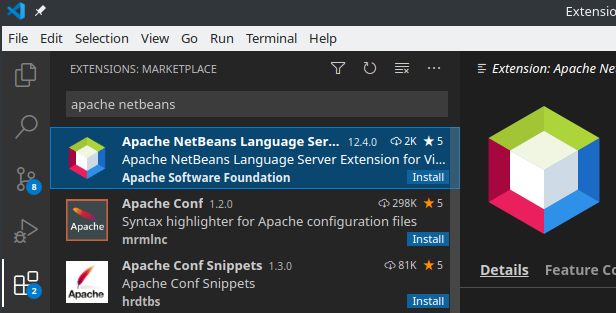
VSNetBeans, the Apache NetBeans Extension for Visual Studio Code, is created as a promotional tool by the Apache NetBeans community for VS Code users.
Install VSNetBeans into VS Code, use it, and maybe you'll want to try the complete Apache NetBeans experience, which is Apache NetBeans. And, if not, that's also fine.
Full Java editing and debugging support is provided by VSNetBeans directly in your VSCode environment. By using VSNetBeans, you're using the same Java tools that are part of Apache NetBeans, so that we hope that VSNetBeans will provide a new avenue for feedback to the Apache NetBeans project.
VS Code already has support for Java, provided by an extension created by Red Hat, though what that extension misses are the following features that VSNetBeans provides out of the box:
Get the latest Apache NetBeans VSCode extension from the official VS Code market place
or download the latest development version of Apache NetBeans Language Server extension and install it into VSCode via Install from VSIX...

1. Get an existing Java project, for example, Micronaut: https://micronaut.io/launch/
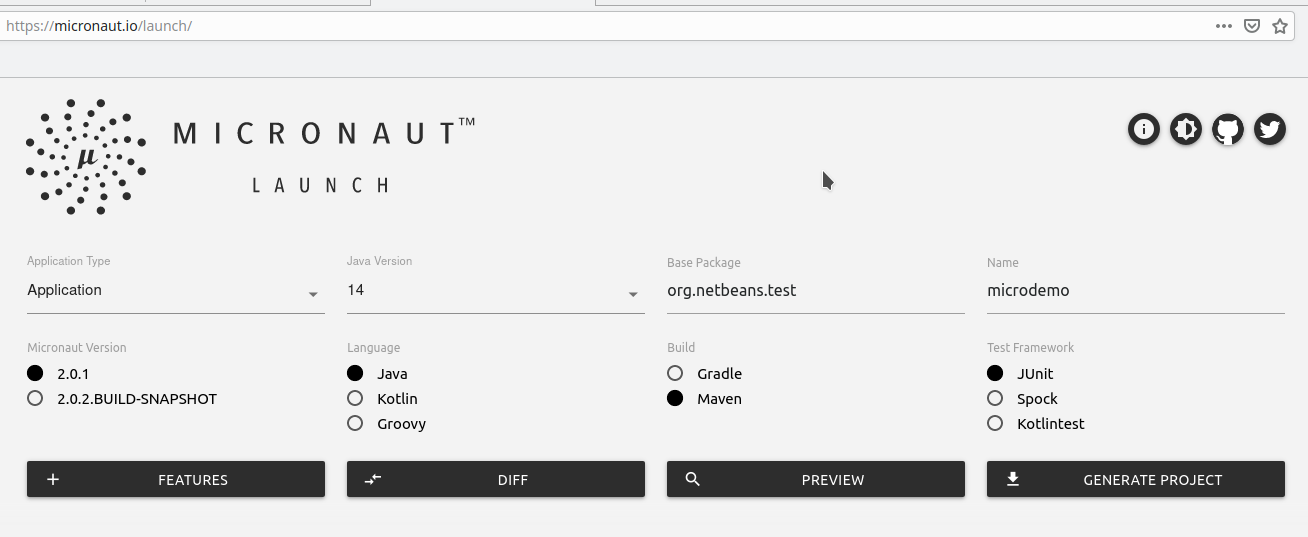
Don't forget to select Java. You can select both Maven or Gradle. Generate the project, download it, extract it into local disk.
$ mkdir microdemo $ cd microdemo/ microdemo$ unzip ~/Downloads/microdemo.zip microdemo$ JAVA_HOME=/jdk-14 mvn install |
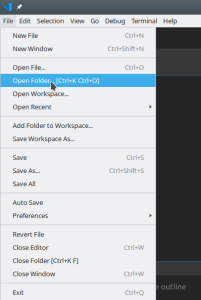
2. Open the microdemo folder in VSCode
3. Wait for message "Indexing completed" and then you can enjoy editing, code completion and other NetBeans goodies
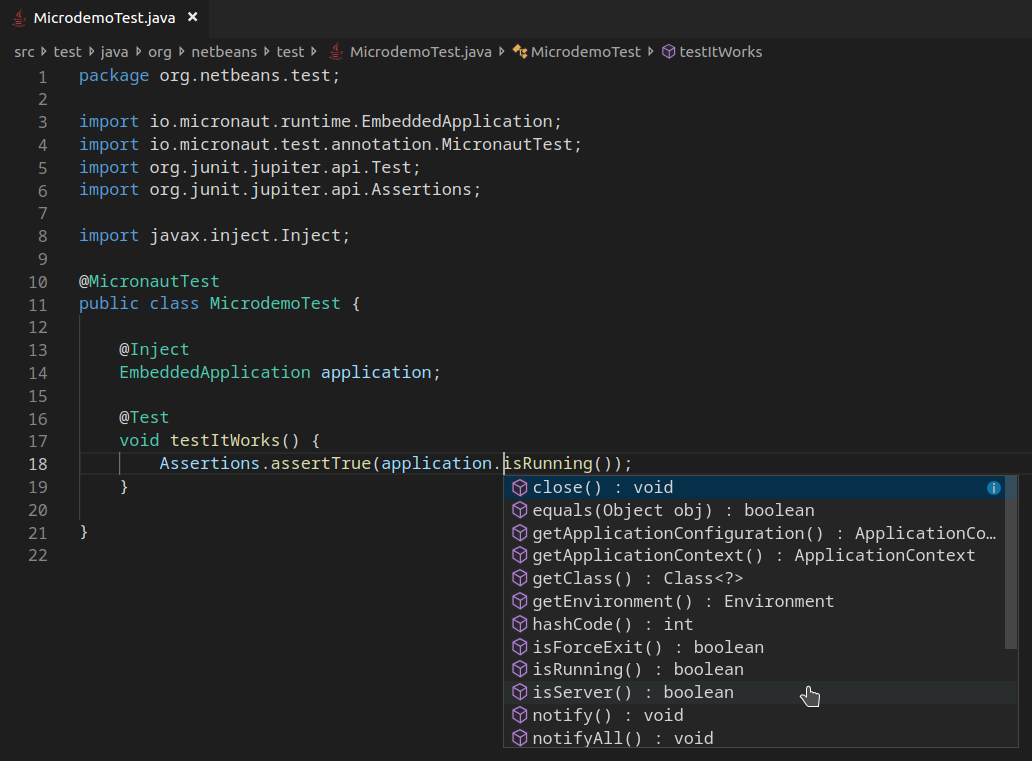
Plus your VSCode now supports all the latest and greatest JDK14 coding structure:
var running = application.isRunning(); Assertions.assertTrue(running); |
Can your VSCode do that with the RedHat extension on JDK 8? If not, install the Apache NetBeans VSCode extension!
In this sample we will go over how to create and debug Java <> JavaScript polyglot project using JDK 11, Graal.JS, and ready to go sample:
graal-js-jdk11-maven-demo Maven Archetype
The sample is a simple Java application invoking in a loop fibonaci calculation for incremented number written in JavaScript.
Complete sample is attached below for your convenience.
JAVA_HOME points at a JDK11 (or later) export JAVA_HOME=/path/to/jdk11.JAVA_HOME and netbeans.jdkhome to your JDK8 home.netbeans.jdkhome, and set it to /path/to/jdk11 (or later).graal-js-jdk11-maven-demo in VSCode.App.java and AppTest.java originally coming with the sample Maven project.In main/java/com/mycompany/app, add a new file named PolyglotSample.java with the following code:
package  com.mycompany.app;
import org.graalvm.polyglot.Context;
import org.graalvm.polyglot.Source;
import org.graalvm.polyglot.Value;
import java.net.URL;

public class PolyglotSample {
    public static void main(String[] args) throws java.io.IOException, java.lang.InterruptedException {
        Context ctx = Context.create();
        URL fibUrl = PolyglotSample.class.getResource("fib.js");
        Source fibSrc = Source.newBuilder("js", fibUrl).build();
        Value fib = ctx.eval(fibSrc);
        for (int i = 0; i < 10; i++) {
            Value res = fib.execute(i);
            System.out.println("Polyglot with Graal.JS - fib(" + i + ") = " + res.asInt());
            Thread.sleep(500);
        }
    }
} |
main folder: resources/com/mycompany/appIn this resources/com/mycompany/app folder, create a file named fib.js and paste in the following JS code:
(function(n) {
    function fib(x) {
        if (x <= 2) {
            return 1;
        }
        let fibX1 = fib(x - 1);
        let fibX2 = fib(x - 2);
        return fibX1 + fibX2;
    }

    let fibN = fib(n);
    print(`JavaScript computed that fib(${n}) is ${fibN}`);

    return fibN;
}) |
Once the build succeeds, let's test the project.
Java 8+ which is VSNetBeans provided debugger for JDK 8 and Polyglot capable of debugging Java and scripting languages like Graal.JS impl. of JS.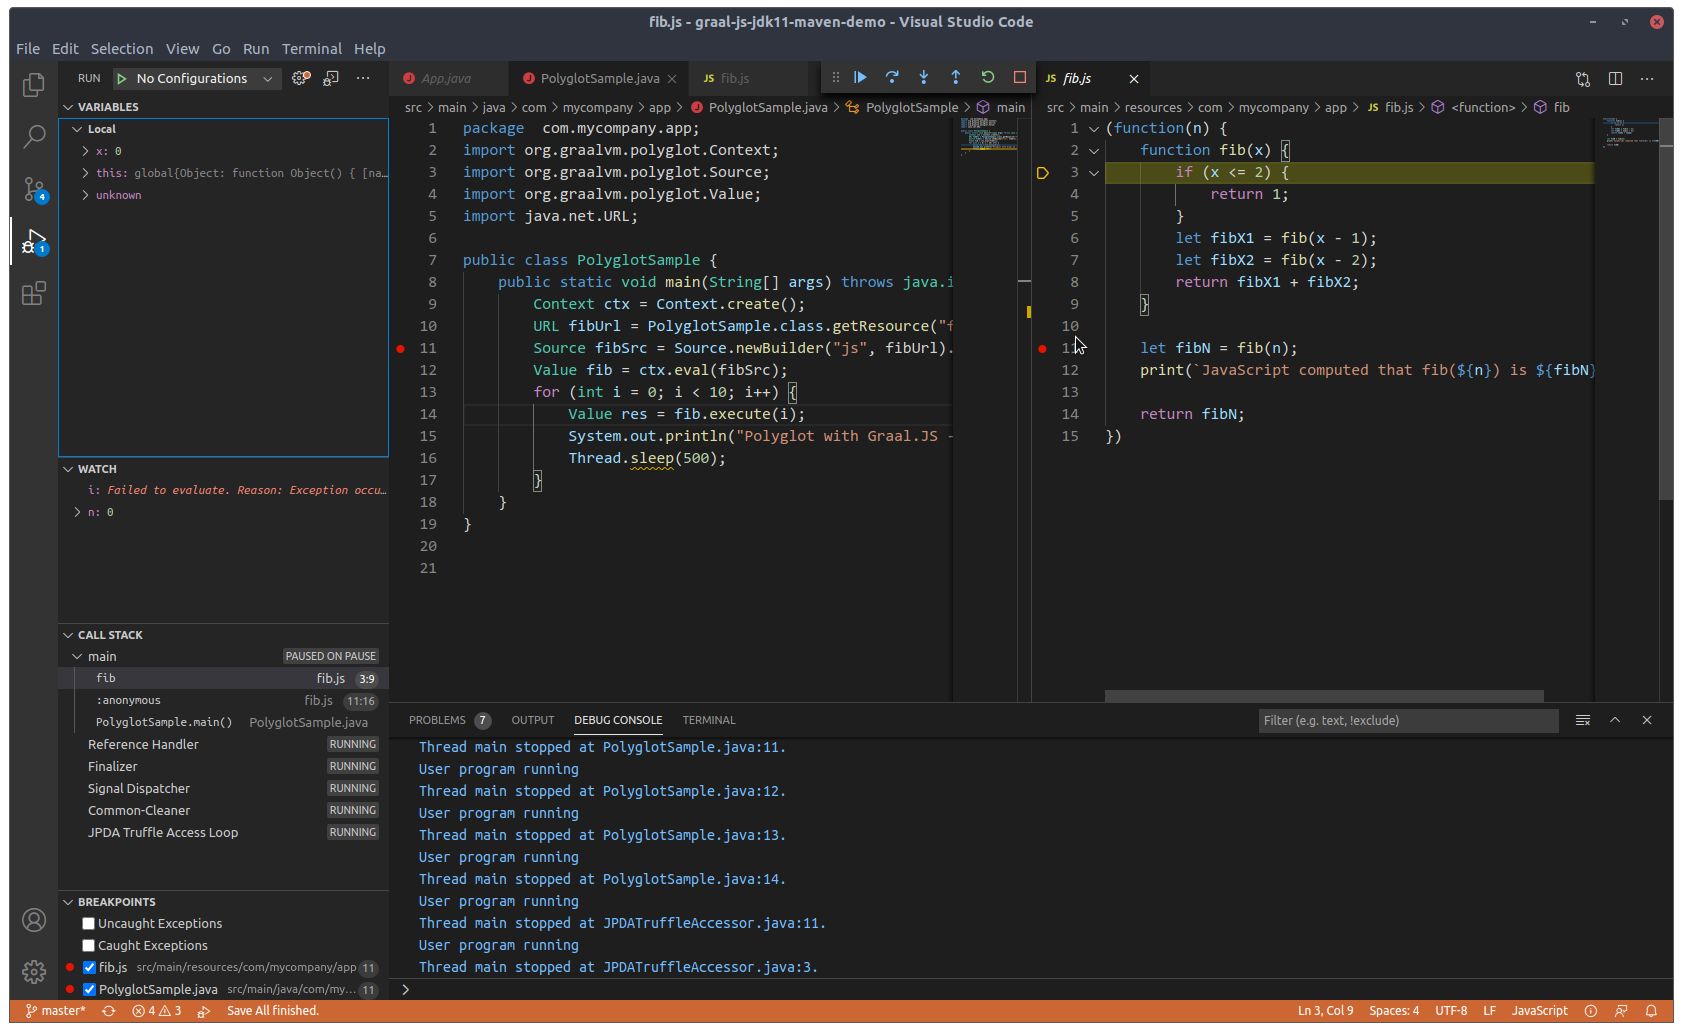
The modified graal-js-jdk11-maven-demo is available for your convenience as:
$ git clone https://github.com/JaroslavTulach/graal-js-jdk11-maven-demo $ cd graal-js-jdk11-maven-demo $ git checkout Fibonacci |
Happy Polyglot development and debugging with VSNetBeans!
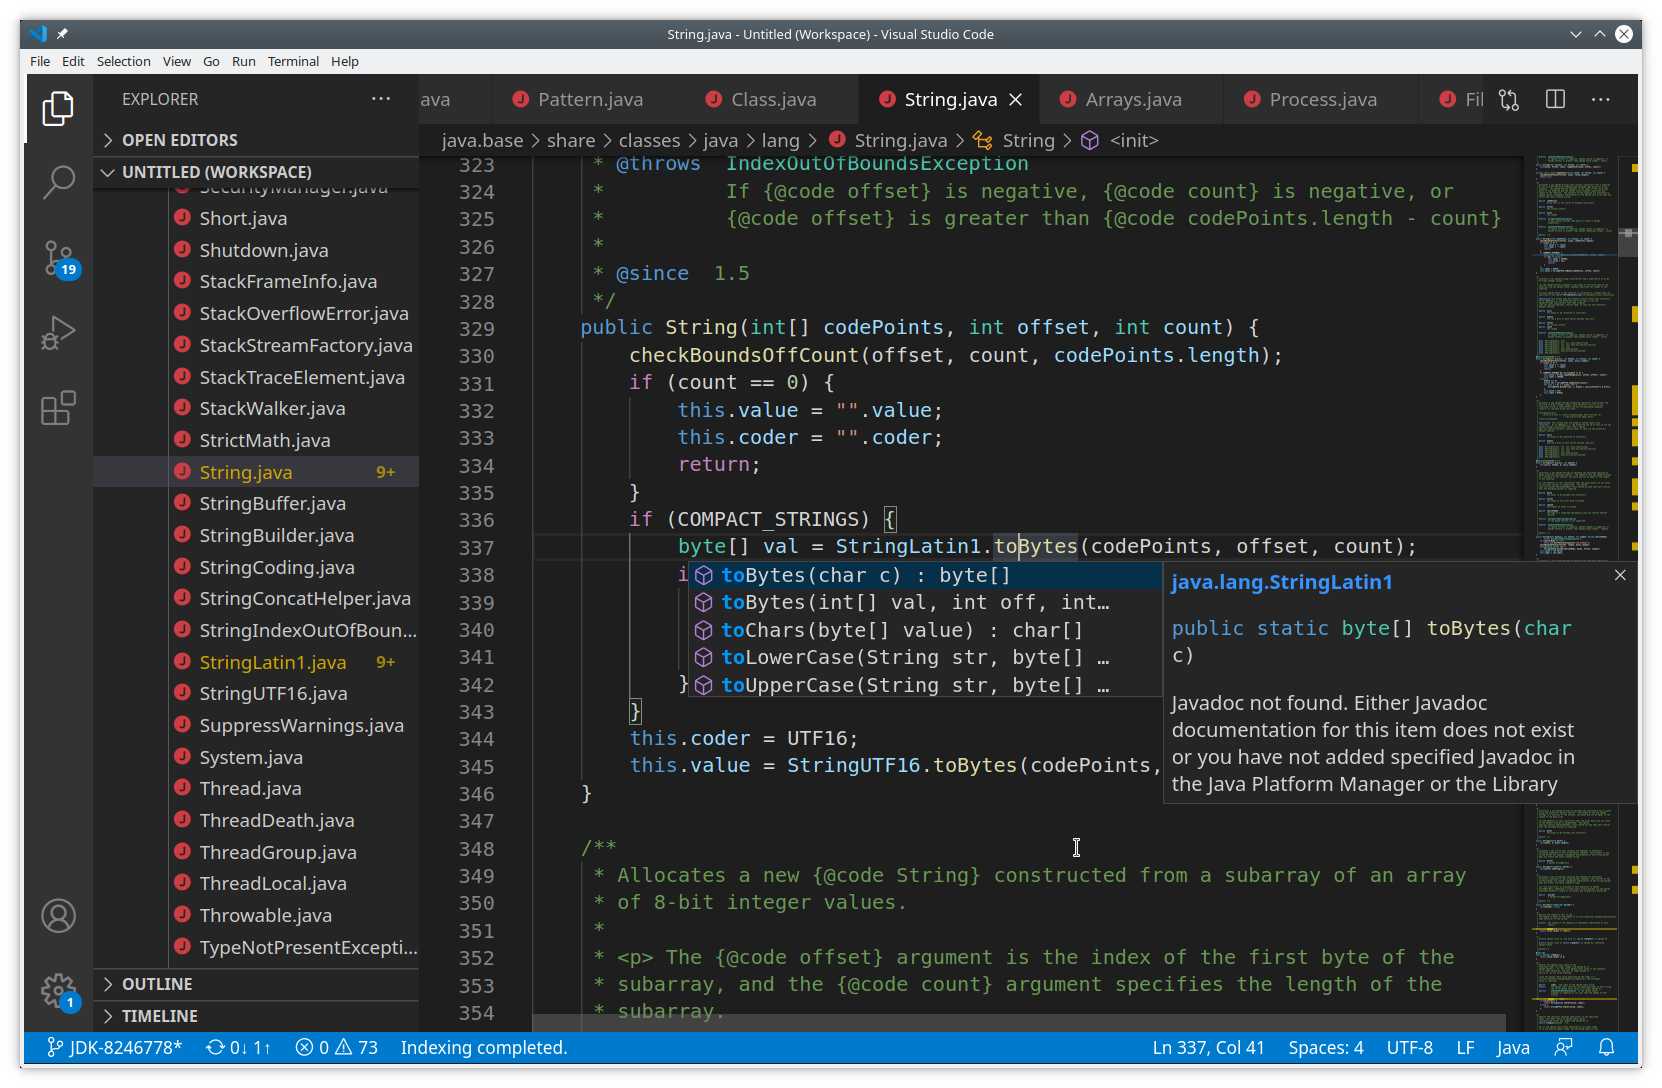
The OpenJDK sources can be directly open in VS Code using VSNetBeans.
Follow these steps to prepare the OpenJDK sources:
bash configure, and provide a path to jtreg, like using the --with-jtreg=<JTREG_HOME> optionmake imagesTo open an OpenJDK module inside VS Code, open the src/<module-name> directory. For example, to open the most basic java.base module, open src/java.base. When opening the first module, use File/Open Folder..., to open additional modules and/or tests, using File/Add Folder To Workspace... . Tests are typically in either the test/jdk or test/langtools folder.
After opening the folders, it is recommended to wait for the "Indexing Complete." messages in the status line.
Then, enjoy browsing and editing the OpenJDK sources!
Get the Graal repository (or related repositories like Graal.js, Graal Python, etc.) and prepare it for development (most importantly make sure the mx tool is on PATH ). Then select a suite (graal/sdk , graal/truffle, graal/compiler, etc.) and build it using mx build . Then open the suite in code as a folder (_File/Open Folder_). Wait for the Apache NetBeans Language Server extension to be initialized (shows Indexing finished in the status line). Use Ctrl-O to open any Java file. Edit, use code completions provided by the system, open tests, run and debug them. Open a test class, locate @Test method to debug and choose Debug :
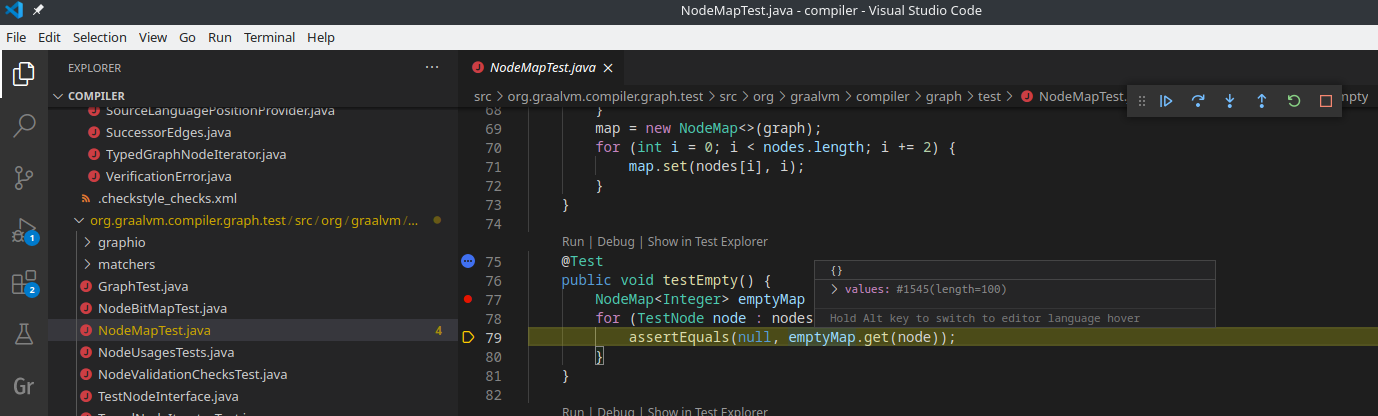
The system invokes mx build and mx unittest ... automatically for you and connects debugger to the started JVM. Then it's up to you to step through the code, hit breakpoints, etc. Should you debug Truffle language (like JavaScript, Python, etc.), the debugger steps in and shows you the guest language statements - see scenario 2 for more details.
Should you need to explicitly build from the code choose Ctrl+Shift-P and type Java: Compile Workspace - that invokes mx build .