DUE TO SPAM, SIGN-UP IS DISABLED. Goto Selfserve wiki signup and request an account.

DUE TO SPAM, SIGN-UP IS DISABLED. Goto Selfserve wiki signup and request an account.
As of now, CloudStack has limited support for GPUs. It supports only Xenserver and some workarounds are possible with KVM but it has a lot of limitations. This feature allows the operator to discover the GPU devices on the host and create a Compute Offering with GPU support based on the available GPU devices on the host. Once the operator has created the Compute offering, it can be used by users to launch Instances with GPU devices.
As part of the GPU integration with KVM in CloudStack, these are the features we have integrated with GPU support for KVM:
Key capabilities include:
For GPU discovery, the agent executes a script to discover the GPU devices on the host and sends the discovered devices to the management server. The management server uses the response from the agent to update the status of the GPU devices on the host. If a discovered GPU device doesn't exist in the database, it will be created. If a discovered GPU device already exists in the database, it will be updated with the new status. The administrator can also trigger the discovery of GPU devices on the host from the host details page. The details of the discovered GPU devices are stored in the database. The administrator can also view the details of the discovered GPU devices on the Host Details page and update them as per the requirements.


For GPU classification and mapping, we have created two new resource types:
passthrough, GRID V100-1Q, GRID V100-4C, etc.). 
The management server uses the discovered GPU devices to map them to the vGPU Profile based on information from the GPU inventory from the CloudStack agent.
If the name of the vGPU profile is passthrough , then the PCI device is passed through to the guest Instance as a PCI device using vfio-pci.
Some GPU devices allow partitioning of the GPU devices into multiple virtual functions (VF) or mediated devices (mdev). The possible partitions of the GPU devices are the names of the vGPU profile in CloudStack.
The vGPU profiles also contain metadata such as video memory, memory, maximum vGPUs per physical GPU, and resolution. If the GPU Card and vGPU Profile don't exist, then the management server will create a new GPU Card and vGPU Profile.
The required profile and the number of GPUs per instance can be specified in the Compute Offering.
When an instance is launched, the management server will check if the GPU devices with the required profile and count are available on the host. If the GPU devices are not available, the management server will not allow the creation of a new instance. If the GPU devices are available, the management server will allocate the required number of GPU devices to the instance.
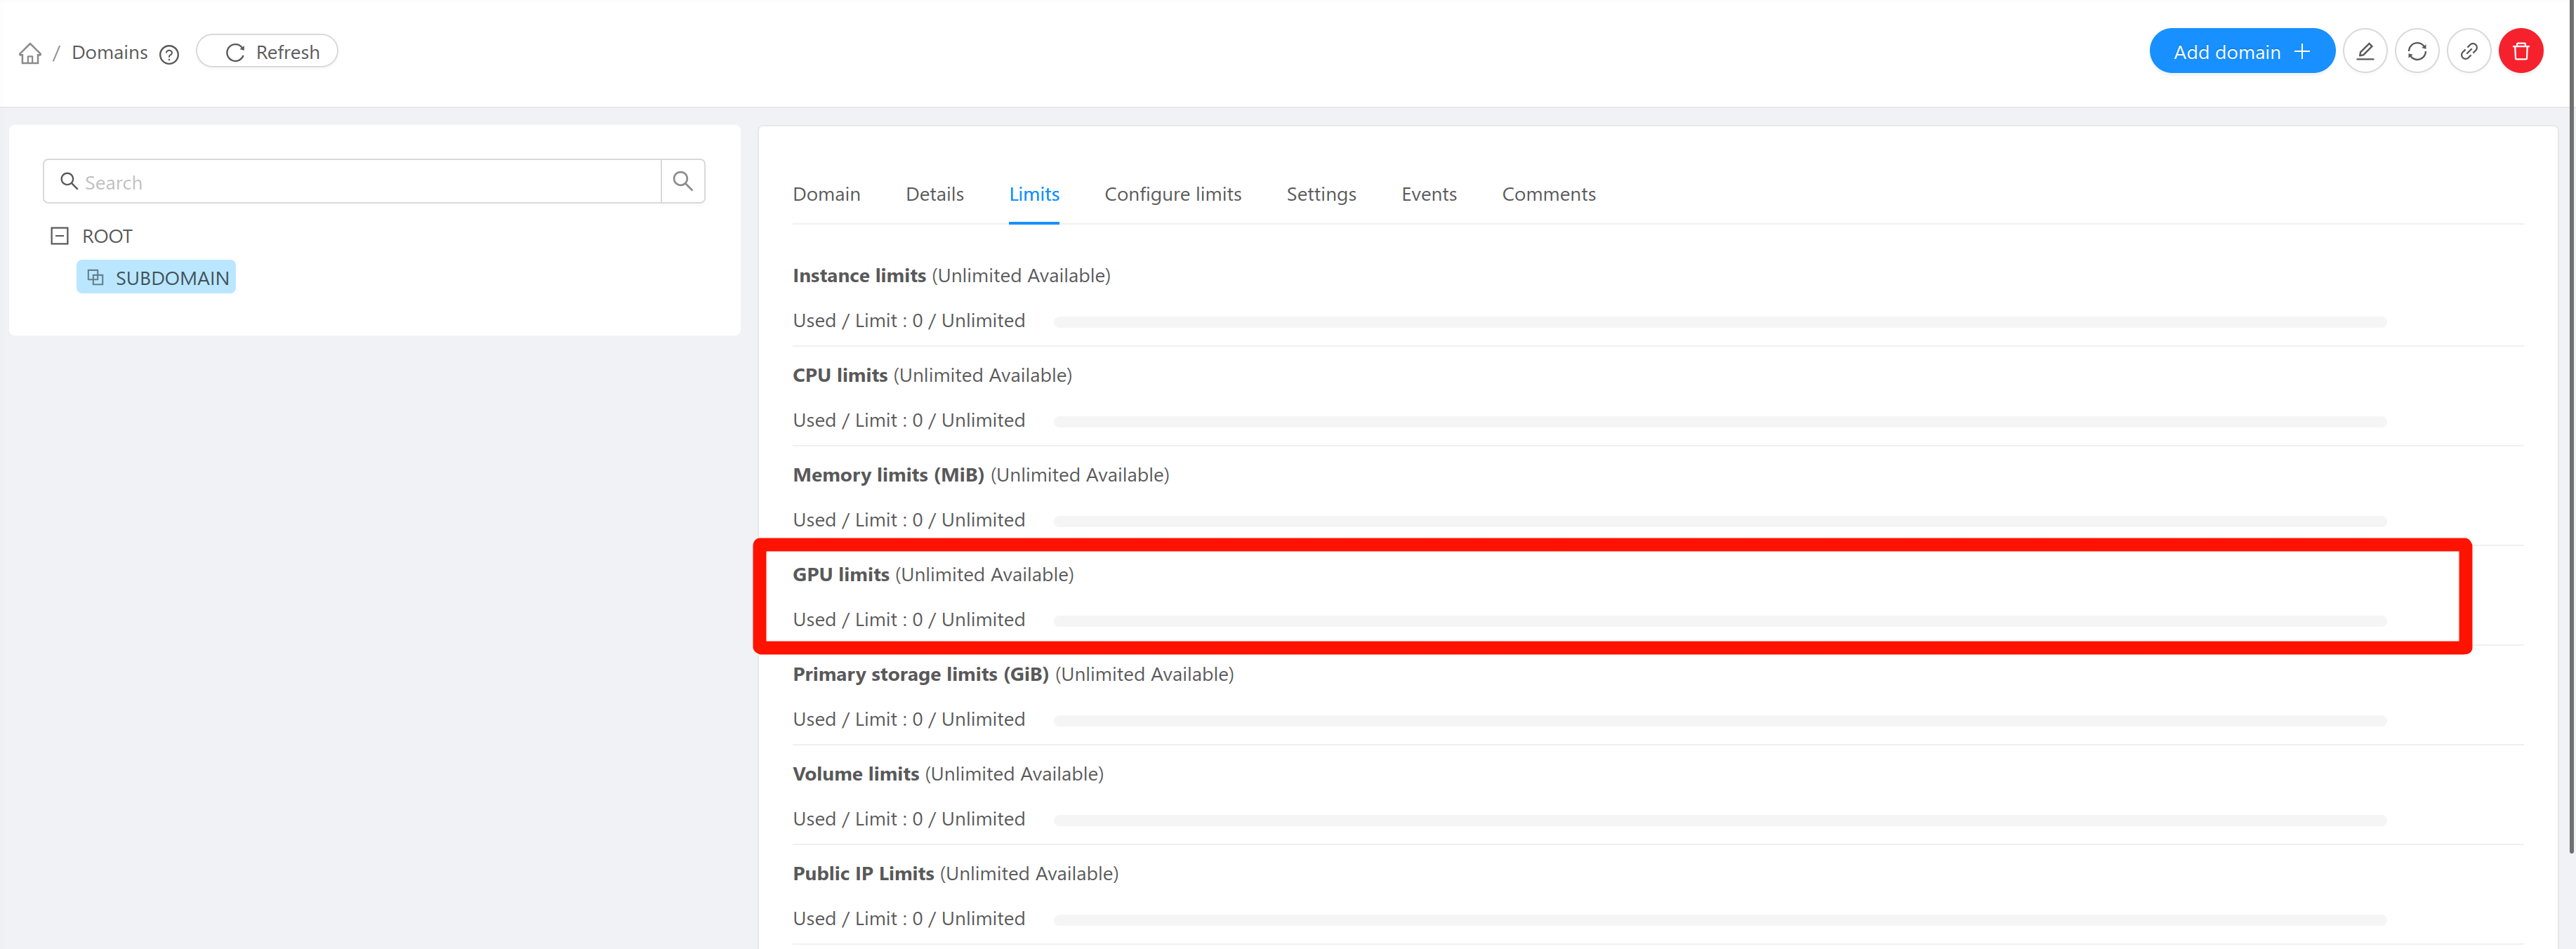
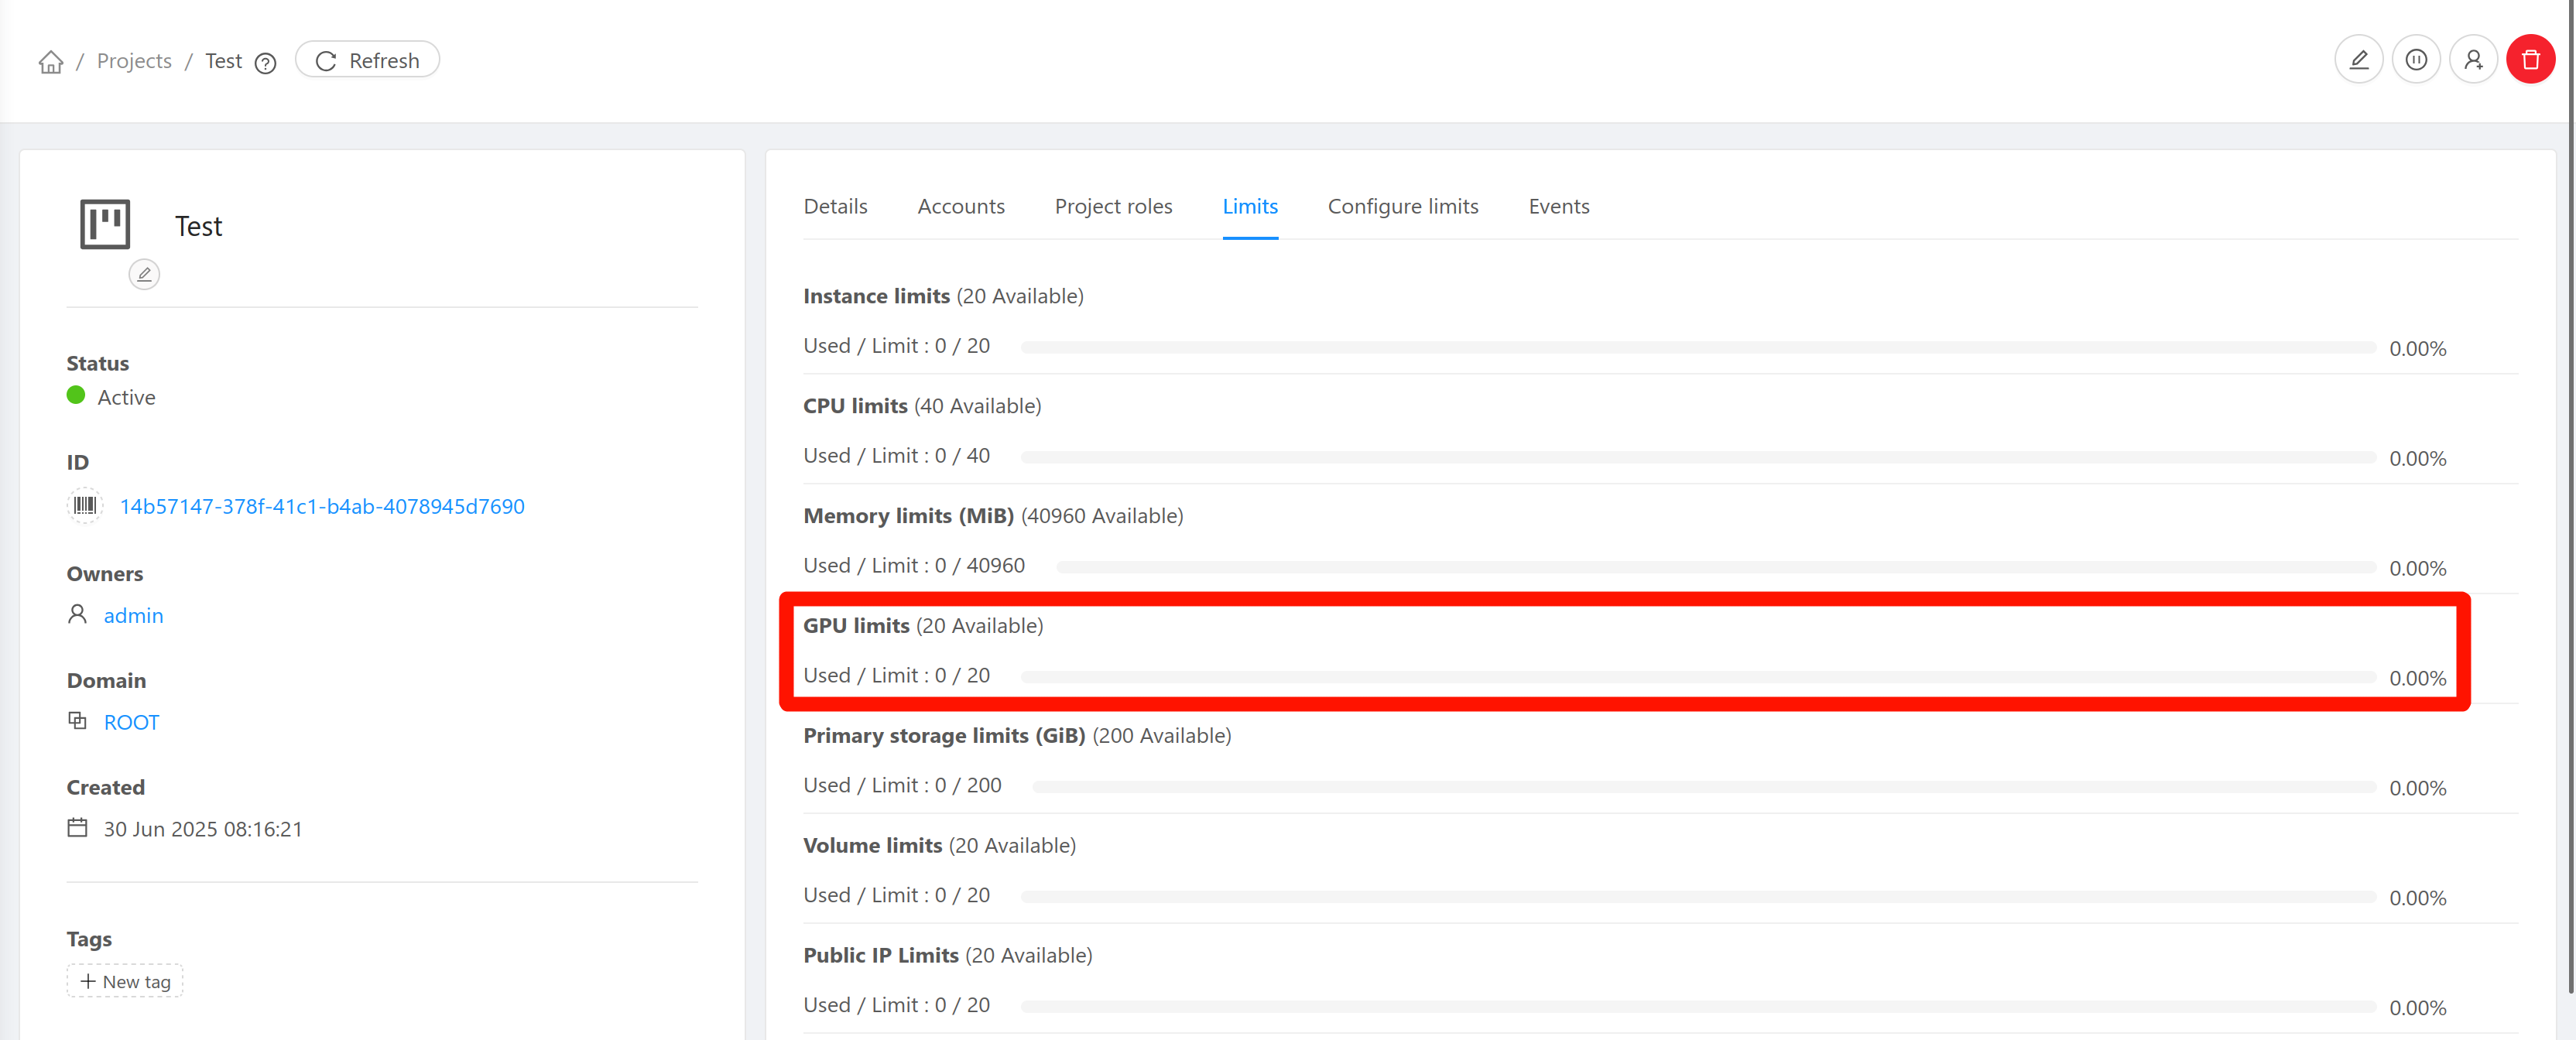
Administrators can specify tenant limits as the maximum number of GPU devices allowed on a per account/project/domain basis. The default account, domain, and project limits can be controlled through the global settings below:
max.account.gpus - The default maximum number of GPU devices that can be used for an account.max.domain.gpus - The default maximum number of GPU devices that can be used for a domain.max.project.gpus - The default maximum number of GPU devices that can be used for a project.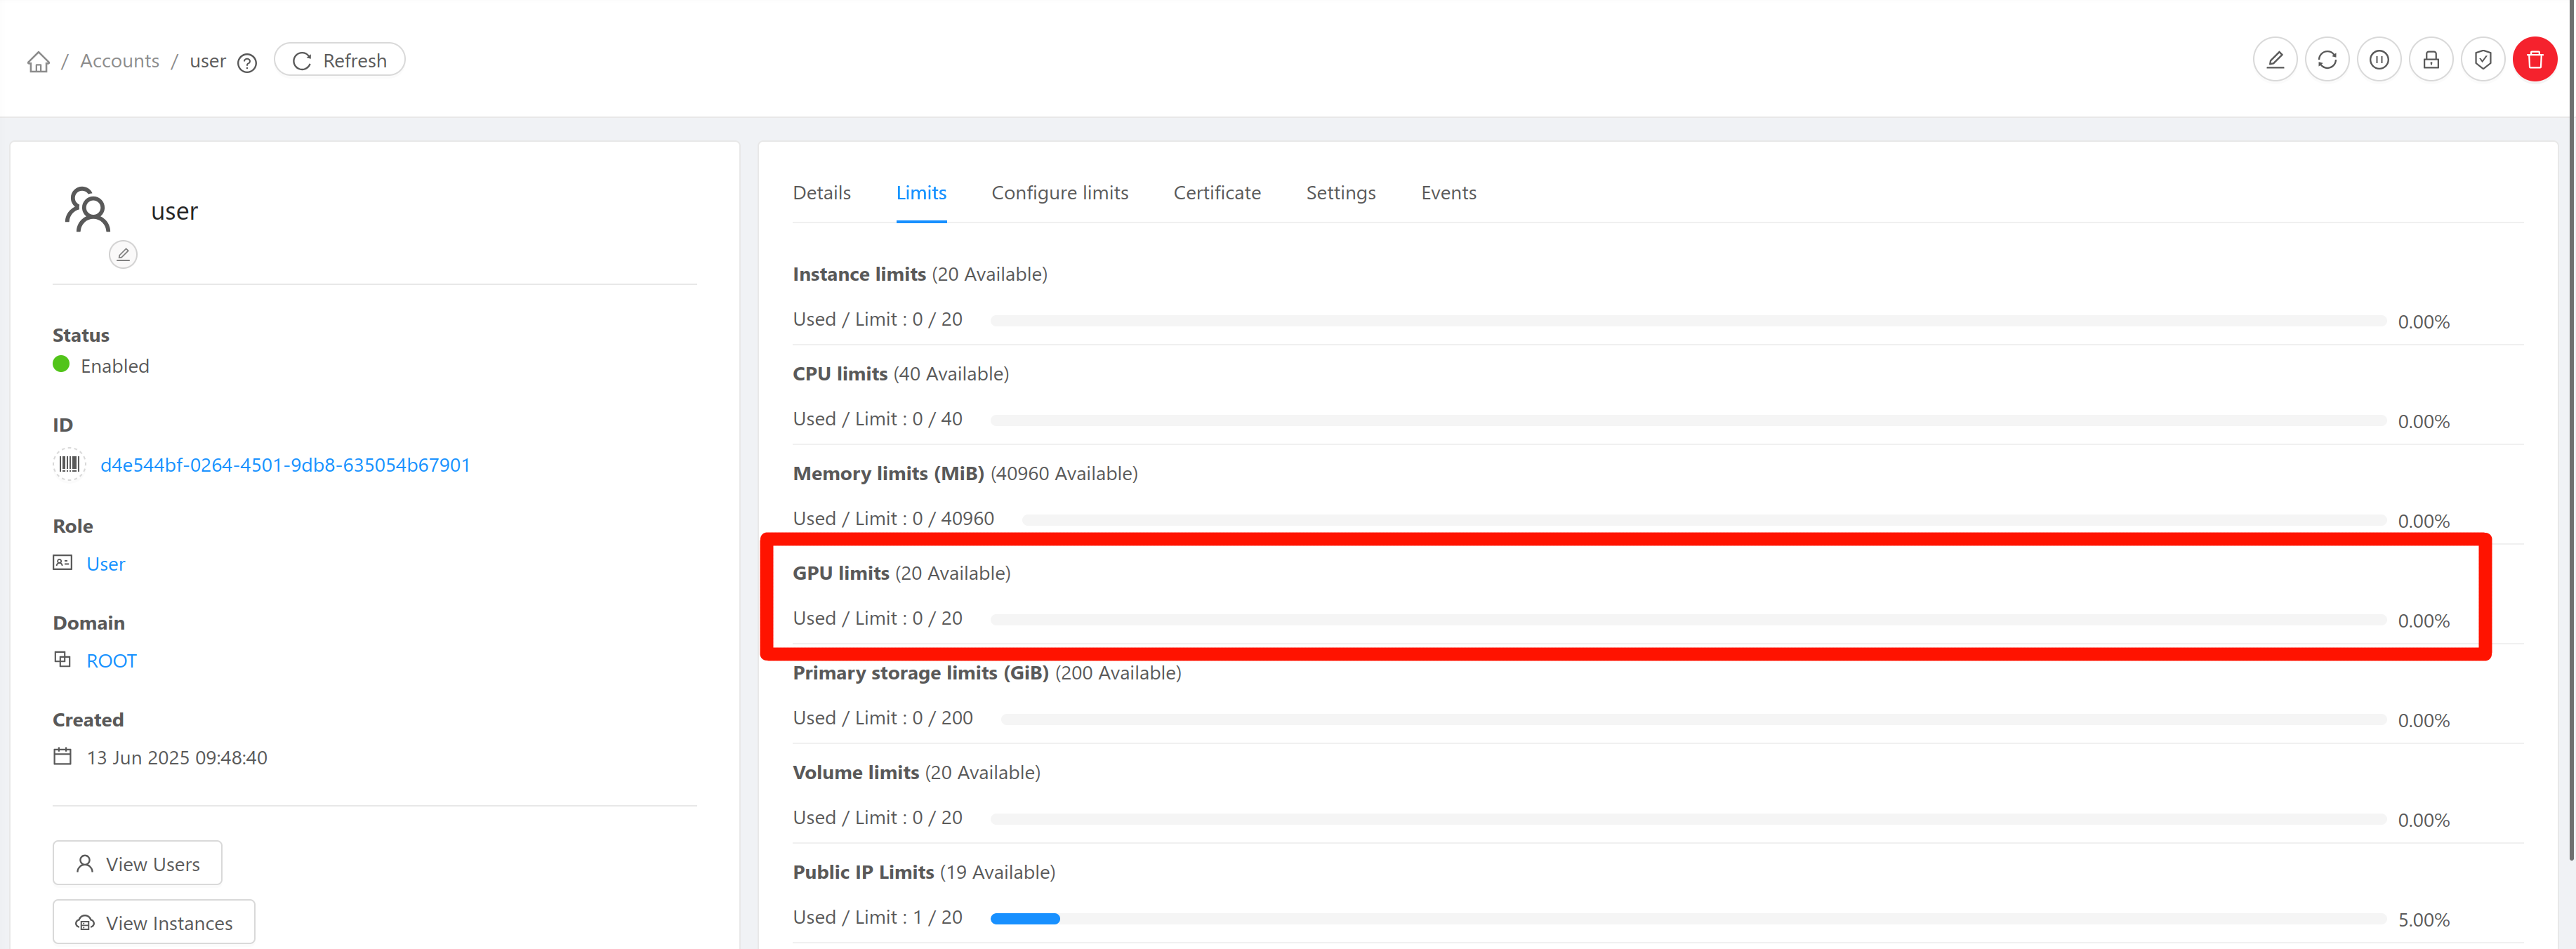
There is also the question of whether to consider the GPU devices as allocated to a stopped instance or not. For this, we have a new global setting called gpu.detach.on.stop which is set to false by default. If this is set to true, the GPU devices will be detached from the instance when it is stopped. This global setting can be configured per domain.
This is useful for cases when the operator doesn't want to bill users for GPUs on a stopped Instance and also allows the operator to use the GPU devices for other purposes.
We also track GPU capacity. This is also used to display the GPU capacity on the root admin dashboard. The capacity is calculated using the GPU devices on the host.
Note: Both passthrough and a device with a vGPU profile are counted as 1 GPU device. For example, if an instance is launched with 2 GPUs, then the count for the account/project/domain will be increased by 2 irrespective of the vGPU profile. If a GPU device has vGPU profiles created, it doesn’t include passthrough in the total count.
We have created a new hypervisor hook for discovery of GPU devices on the host. This script is called by the CloudStack agent to discover the GPU devices on the host. The script is located at /usr/share/cloudstack-agent/scripts/gpudiscovery.sh. The script will output a JSON like the one below with the GPU devices. This script can be updated by the administrator, but the output format should remain the same.
{
    "gpus": [
    {
      "pci_address": "01:00.0",
      "vendor_id": "10de",
      "device_id": "25a0",
      "vendor": "NVIDIA Corporation",
      "device": "GA107M [GeForce RTX 3050 Ti Mobile]",
      "driver": "nvidia",
      "pci_class": "3D controller [0302]",
      "iommu_group": "16",
      "pci_root": "0000:01:00.0",
      "numa_node": -1,
      "sriov_totalvfs": 0,
      "sriov_numvfs": 0,
      "full_passthrough": {
        "enabled": 1,
        "libvirt_address": {
          "domain": "0x0000",
          "bus": "0x01",
          "slot": "0x00",
          "function": "0x0"
        },
        "used_by_vm": null
      },
      "vgpu_instances": [],
      "vf_instances": []
    }
  ]
}
While CloudStack already supports Groovy scripts, we have added support for shell scripts:
The shell scripts can be placed in the /etc/cloudstack/agent/hooks directory.
The shell scripts can be used to execute any other script. The scripts take in the following arguments for each hook:
Only the response for the transformer hook is used. The response for the start and stop hooks is ignored.
We have added the following new tables:
Updates to exisiting tables:
We have added the following new APIs:
GPU Card
createGpuCard - Allow creation of a GPU Card to store metadata
vGPU Profiles
createVgpuProfile - Creates a vGPU profile for a GPU Card
GPU Devices
unmanageGpuDevice - Disables a GPU devices to be used from CloudStack
discoverGpuDevices - Discover GPU Devices on a host
manageGpuDevice - Enables a GPU device to be used from CloudStack
The configuration settings changes below, are incorporated.
Configuration | Description | Default Value | Scope |
gpu.detach.on.stop | Whether to detach GPU devices from Instance on stop or keep them allocated | false | Domain |
max.account.gpus | The default maximum number of GPU devices that can be used for an account | 20 | Global |
max.domain.gpus | The default maximum number of GPU devices that can be used for a domain | 20 | Global |
max.project.gpus | The default maximum number of GPU devices that can be used for a project | 20 | Global |
As part of the GPU integration, we need to configure the GPU on the host and install or upgrade the CloudStack packages with GPU support.
For passthrough, we need to enable IOMMU and ensure vfio-pci is loaded and used for the GPU devices. For vGPU, follow the steps below to enable IOMMU and then follow the instructions here to create a vGPU profile.
Before proceeding, make sure that IOMMU is enabled in BIOS. It's called "Intel VT-d" for Intel processors and "AMD IOMMU" for AMD processors.
/etc/modprobe.d/50-denylist.conf file: blacklist nouveauNote: This is only required to create vGPUs. If only full passthrough is required, this can be ignored.
If the GPU devices are still empty, execute the following script on the host which CloudStack uses to discover the GPU devices for debugging. The output should be a JSON file with the GPU devices:
$ sudo /usr/share/cloudstack-agent/scripts/gpudiscovery.sh
Example JSON output:
{
    "gpus": [
    {
      "pci_address": "01:00.0",
      "vendor_id": "10de",
      "device_id": "25a0",
      "vendor": "NVIDIA Corporation",
      "device": "GA107M [GeForce RTX 3050 Ti Mobile]",
      "driver": "nvidia",
      "pci_class": "3D controller [0302]",
      "iommu_group": "16",
      "pci_root": "0000:01:00.0",
      "numa_node": -1,
      "sriov_totalvfs": 0,
      "sriov_numvfs": 0,
      "full_passthrough": {
        "enabled": 1,
        "libvirt_address": {
          "domain": "0x0000",
          "bus": "0x01",
          "slot": "0x00",
          "function": "0x0"
        },
        "used_by_vm": null
      },
      "vgpu_instances": [],
      "vf_instances": []
    }
  ]
}
The Host Details page should look something like below:
Once the GPU devices are discovered on the host, we can create a Compute Offering.

Once you have created the compute offering,

